This stuff… is amazing. I use it more often than just about any specific tool in my tool bag. If I’m out of Plast-Aid, I’m always concerned that the next service call is going to need it, especially if a leak is involved. Plast-Aid is a repair adhesive/acrylic/plastic that can repair PVC, Acrylic, and anything that the catalyst part of the combo can make sticky. Now before I give you a sales pitch, take a look at the image below – this is a horrible situation for anyone fixing a hot tub:
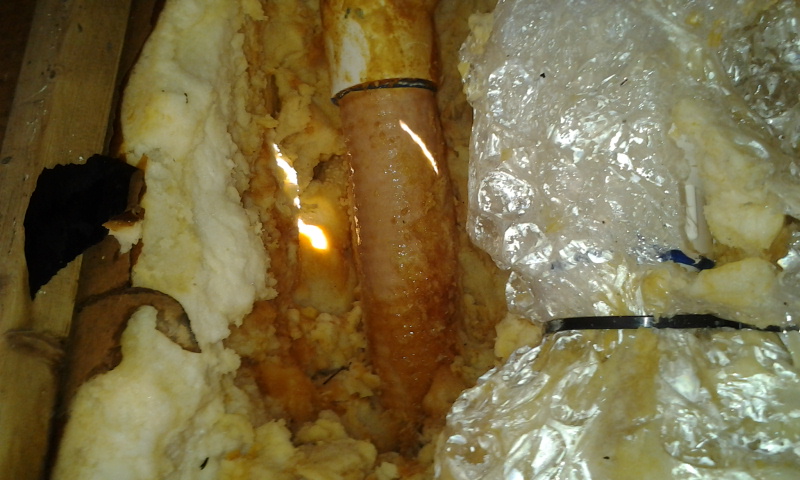
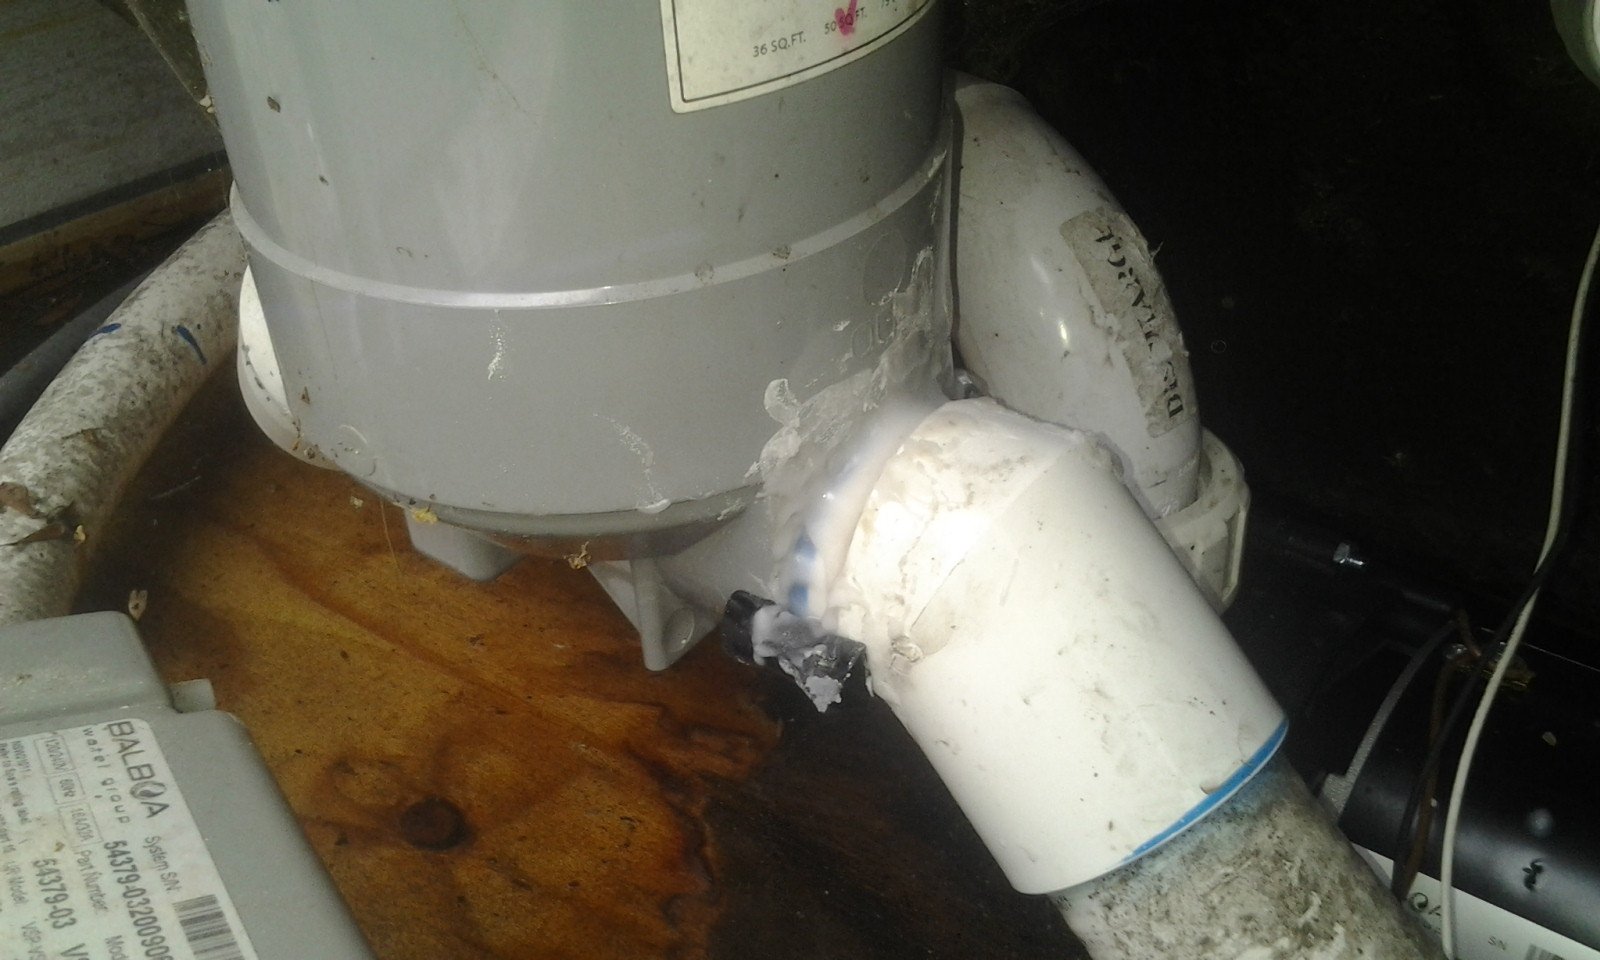
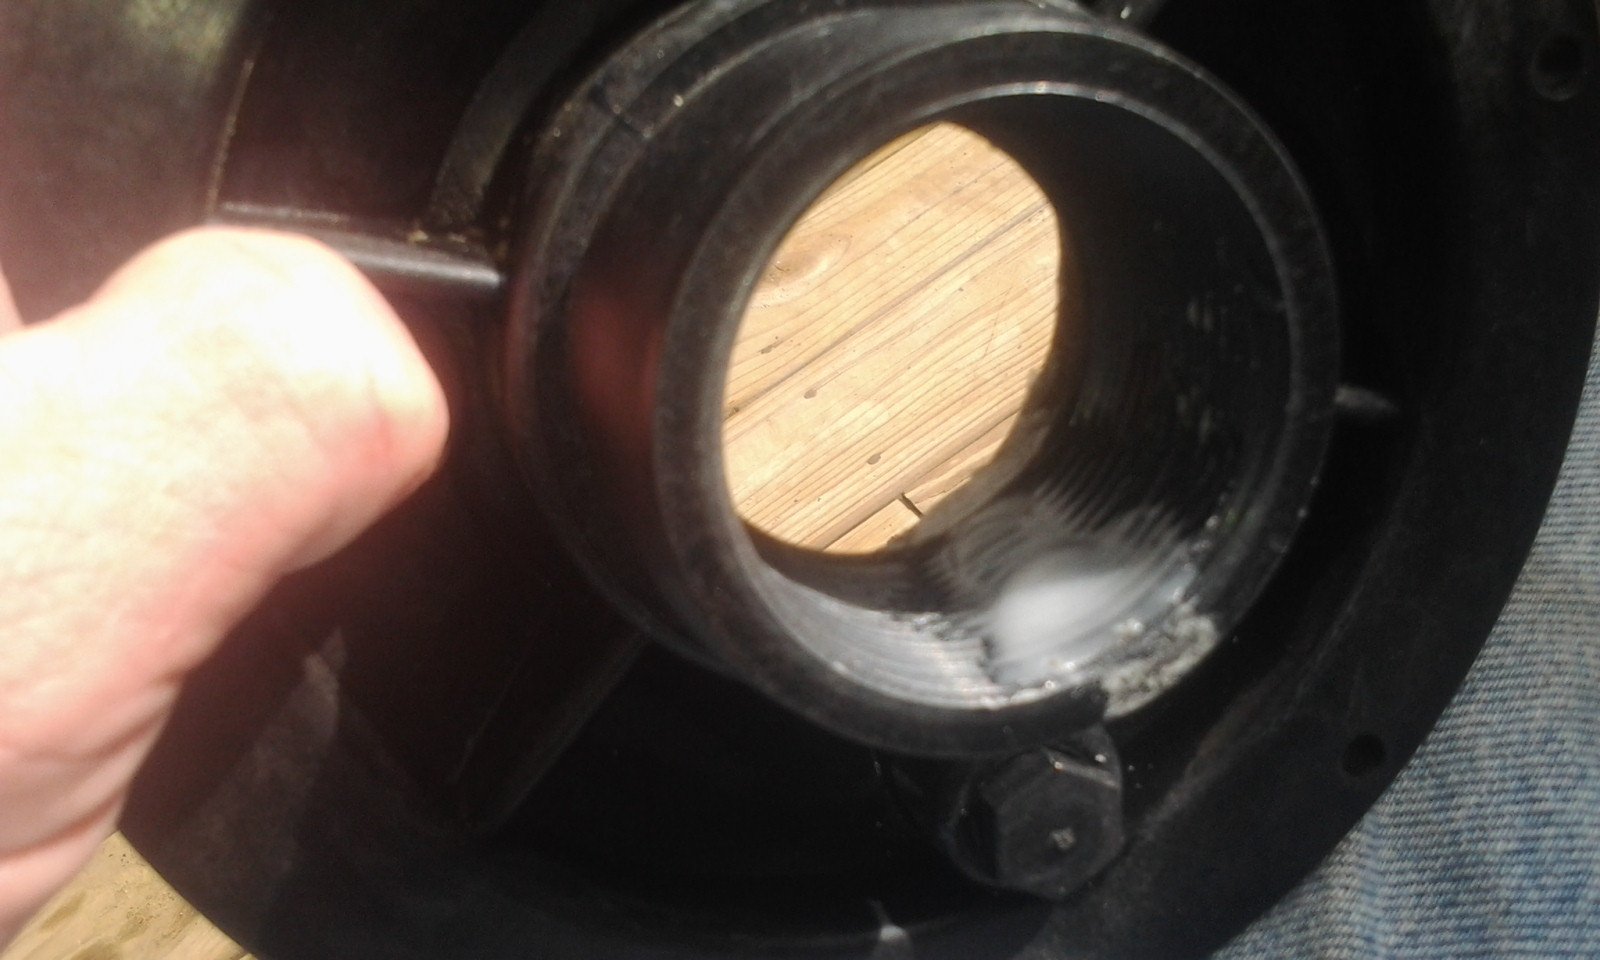
 On first look, this is the bottom end of a $160 (internet price) filter cannister. The supposed ‘flex’ hose connected to it, which doesn’t even flex any more, connects to the suction of the main pump. How did that thing crack off like that? Lol. Well… ahem, long story short: I had to replace both pumps on this spa due to chemistry damage. The first pump, well ummm after I loosened the coupler to the pump completely, it was literally ‘glued’ to the pump suction fitting and I couldn’t move the pump at all. So me, with all my bright ideas, decided to give it a good old fashioned kick, to knock the loosened suction pipe off of the pump. Instead, the pipe on the bottom of the filter snapped off like a match stick! In the photo above, the pipe is still stuck on the front of the pump! (No I did NOT kick that part where it’s broke. I kicked it right at the pump!)
OMG, it’s mid December nonetheless; and it’s cold. PVC don’t like cold, and flex PVC doesn’t flex, especially when it’s old, and cold. That stuff is hard as a rock. Haha. Well because I had just received my latest order of Plast-Aid, I just laughed it off, but had to look forward to a bit more work than I had planned. <<< Now that is something that most could NEVER say in a situation like this. There would be a lot more 4 letter words spewed out than could be mentioned here.
On a scale of 1-10 of screw-ups… this one rates a 10. Enter Plast-Aid, it becomes a 1. Seriously. Let’s take a look on the repair:
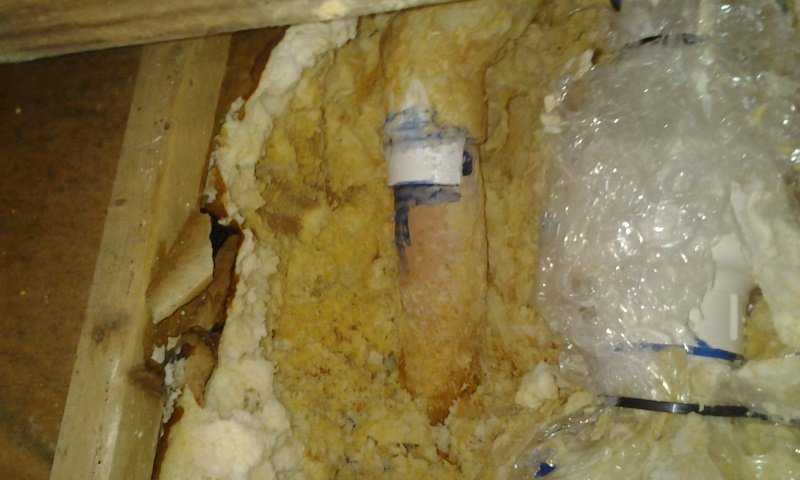
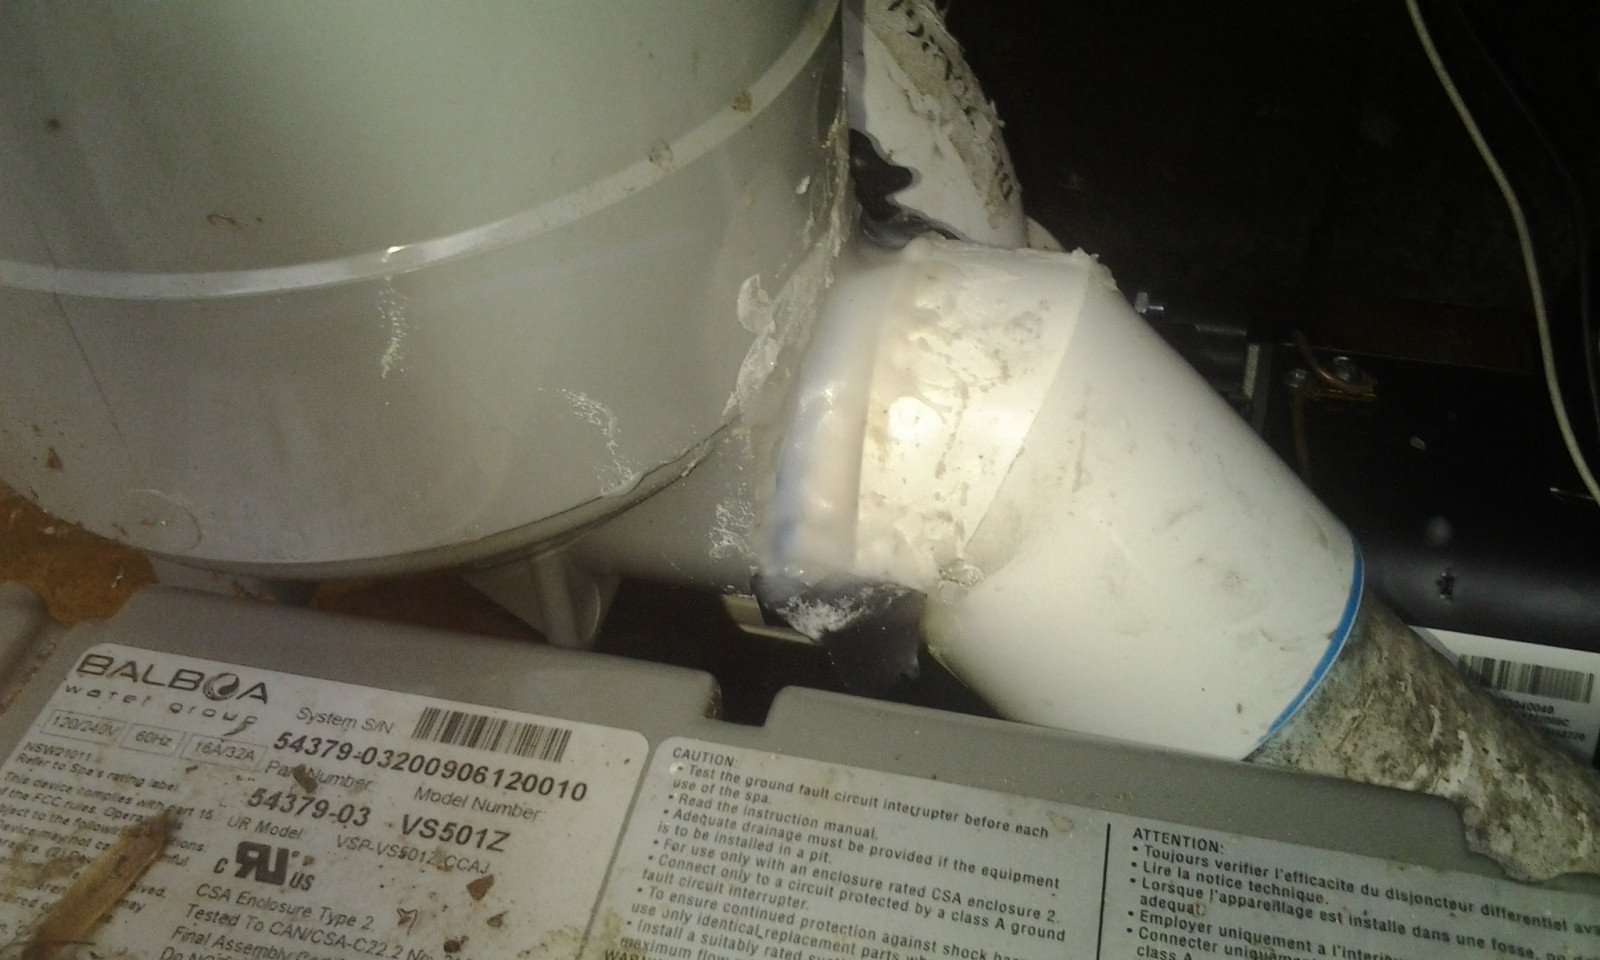
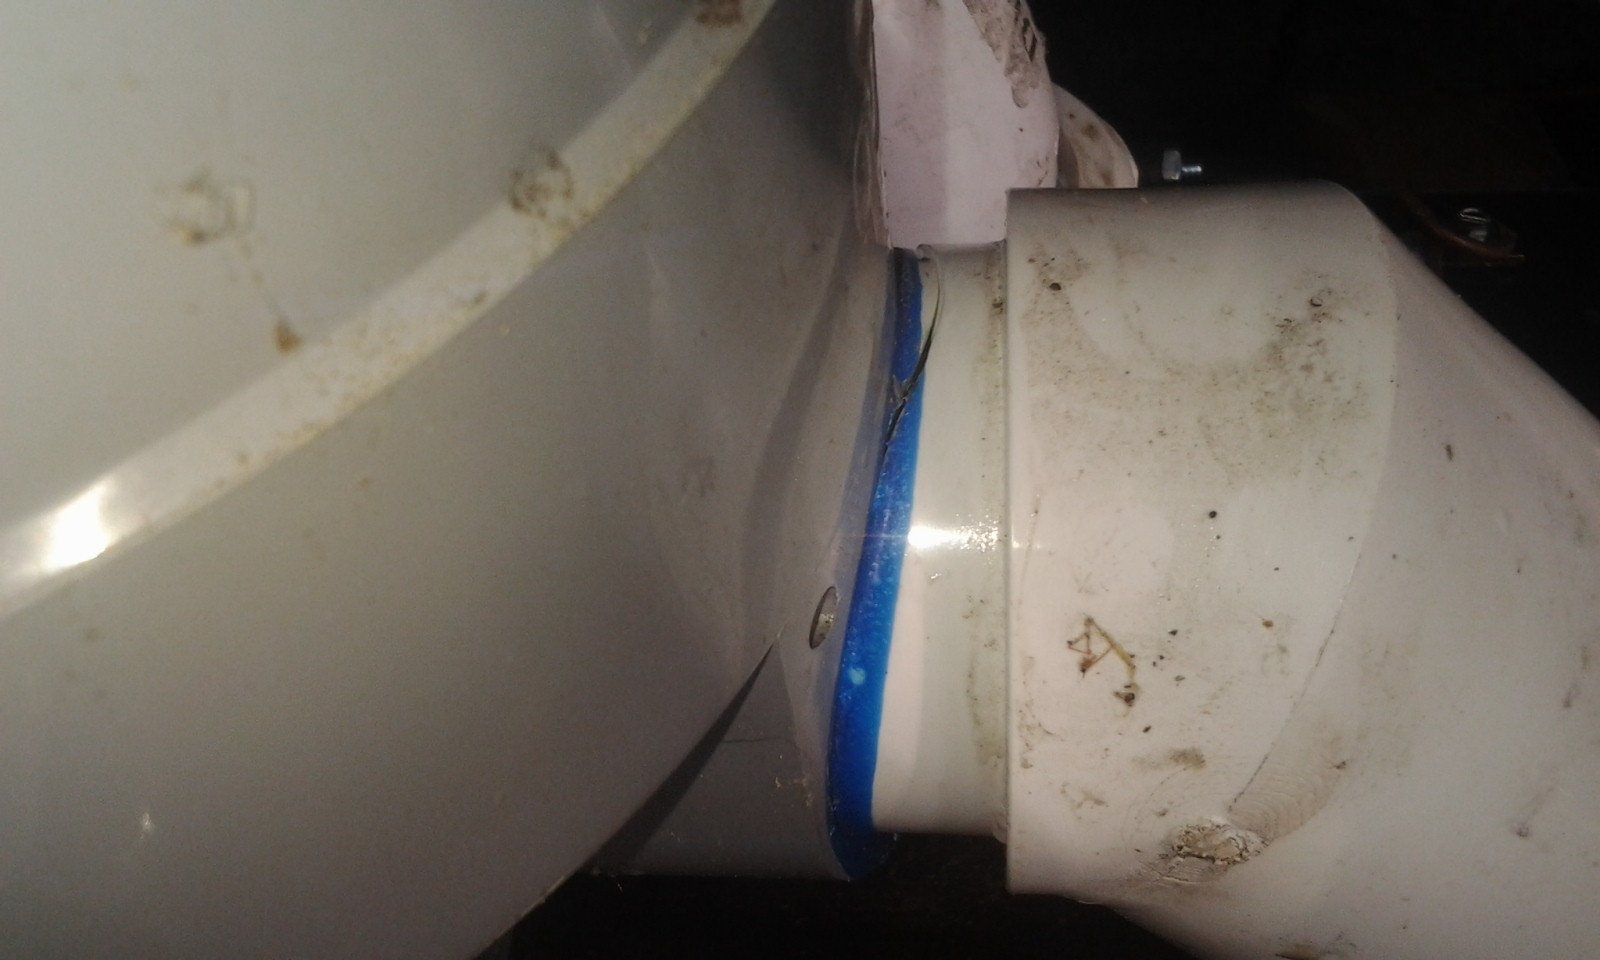 What you see above, is… the pipe is still stuck to the front of the pump (not shown), but I lined it back up with the crack at the filter.
 This is the initial application of Plast-Aid. It is not pretty, then again it is not supposed to be. This is a repair under the spa skirt, not cosmetic plastic surgery… well maybe you could call it that but not in the ‘cosmetic’ category of things. I love Plast-Aid. Did I tell you that yet?
Going forward… Well, Plast-Aid, like any other adhesive or catalyzing compound, loves heat. Out here it’s really cold, this day in the 40’s. So I always have a small butane torch with me to help keep things warm around the area. Note I didn’t say hot. Never heat anything like this to where you cannot touch it. It works best at room temperature or slightly above. There is an art to heating up components like this in the cold, and if you aren’t experienced with it then use a blow dryer with caution. A heat gun can get you in trouble as you really want to be in the 60-80 degree fahrenheit range and never higher. Hotter does not always equal better. (Actually, hotter means brittle and we NEVER want brittle!)
Let’s move on to the next photo:
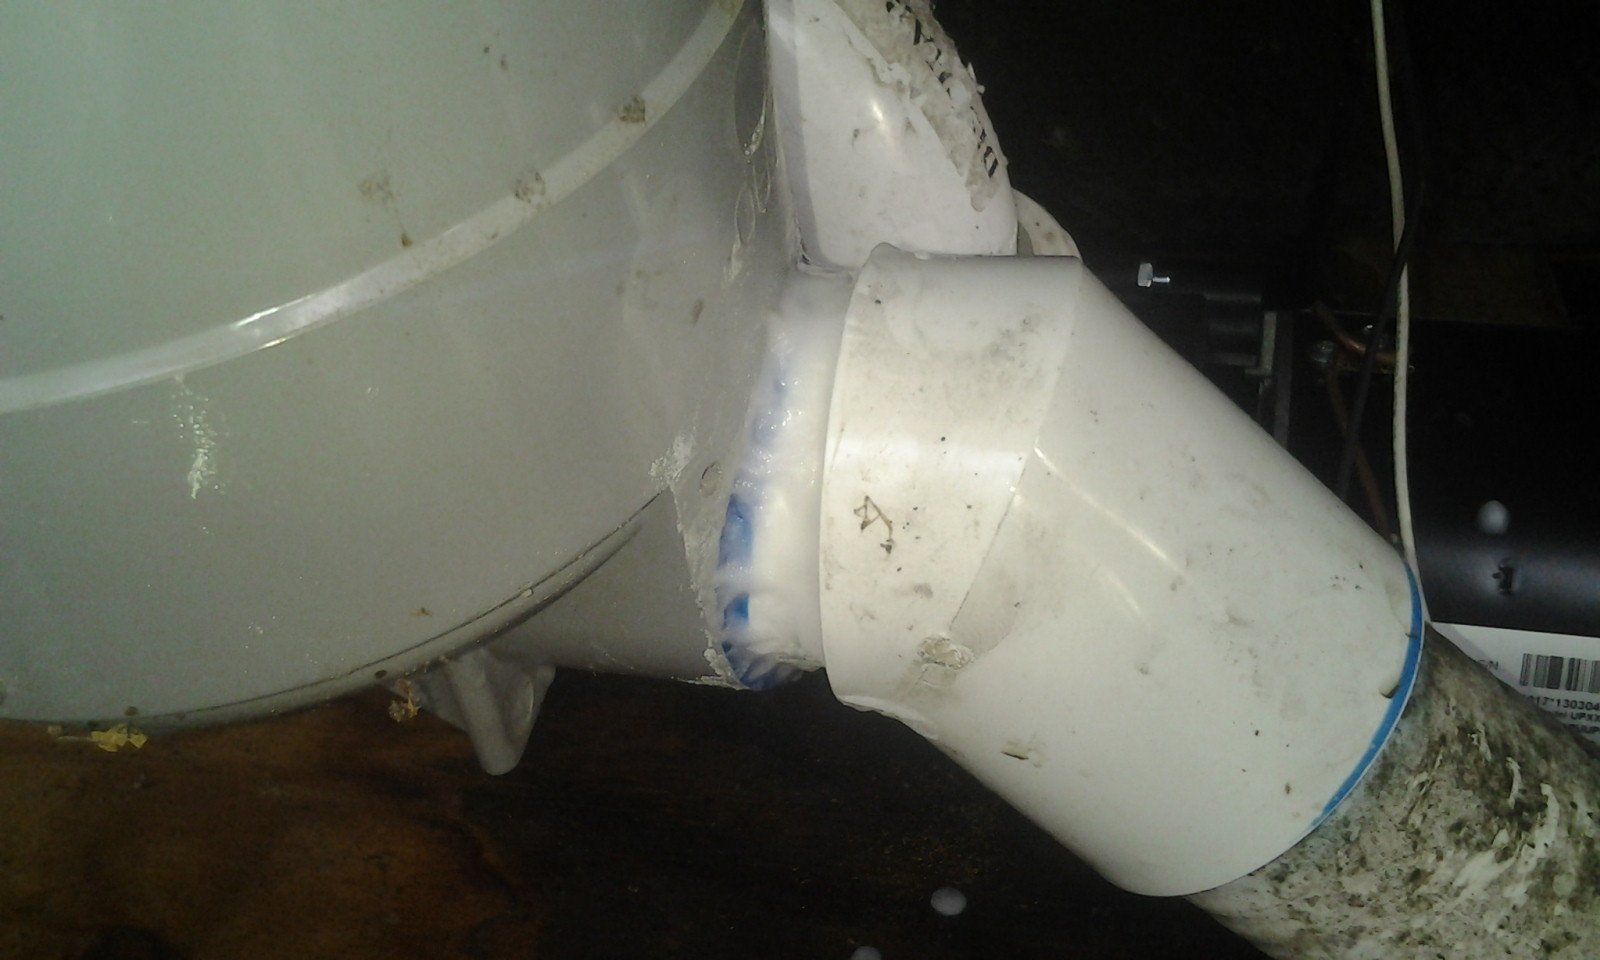
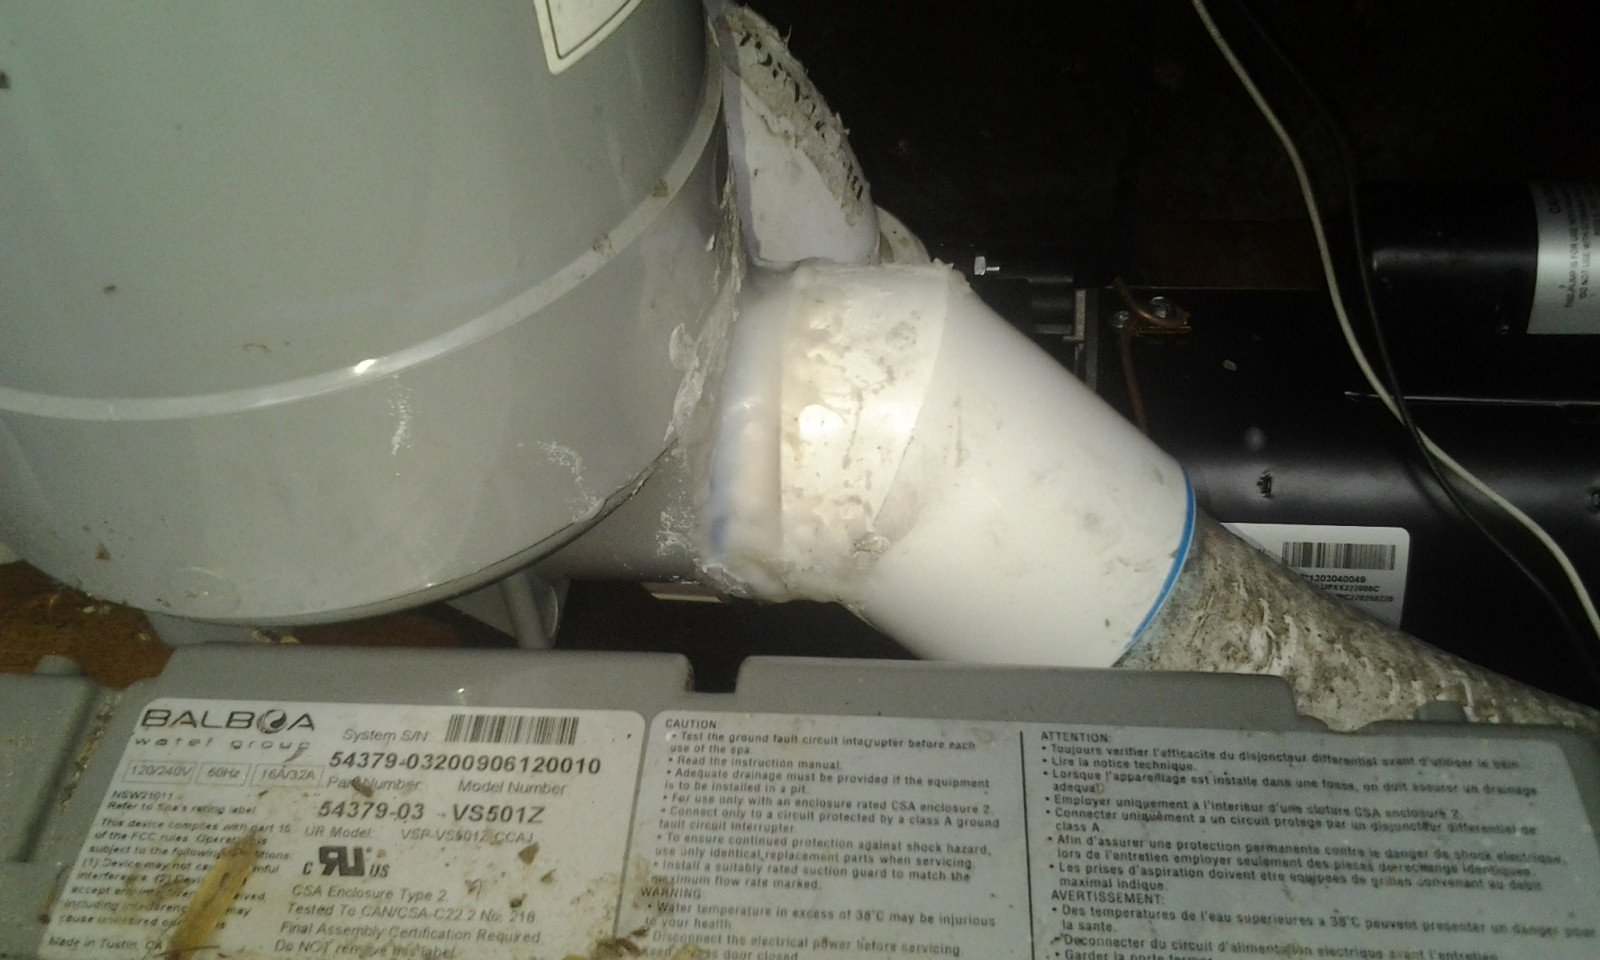
 Note in the above photo, you can see more Plast-Aid on top from the initial application, plus a piece of electrical tape on the bottom 180 of the fitting. That is actually two pieces of electrical tape – taped together to cover the gap between the edge of the street 90 45 degree ell on the right, and the filter itself. Because I cannot see behind, or below the fitting (and gravity doesn’t do you any favors when working with Plast-Aid when it’s in it’s most liquid state, I create a dam with the tape, to pour it into and hold the Plast-Aid in place during it’s cure-out.
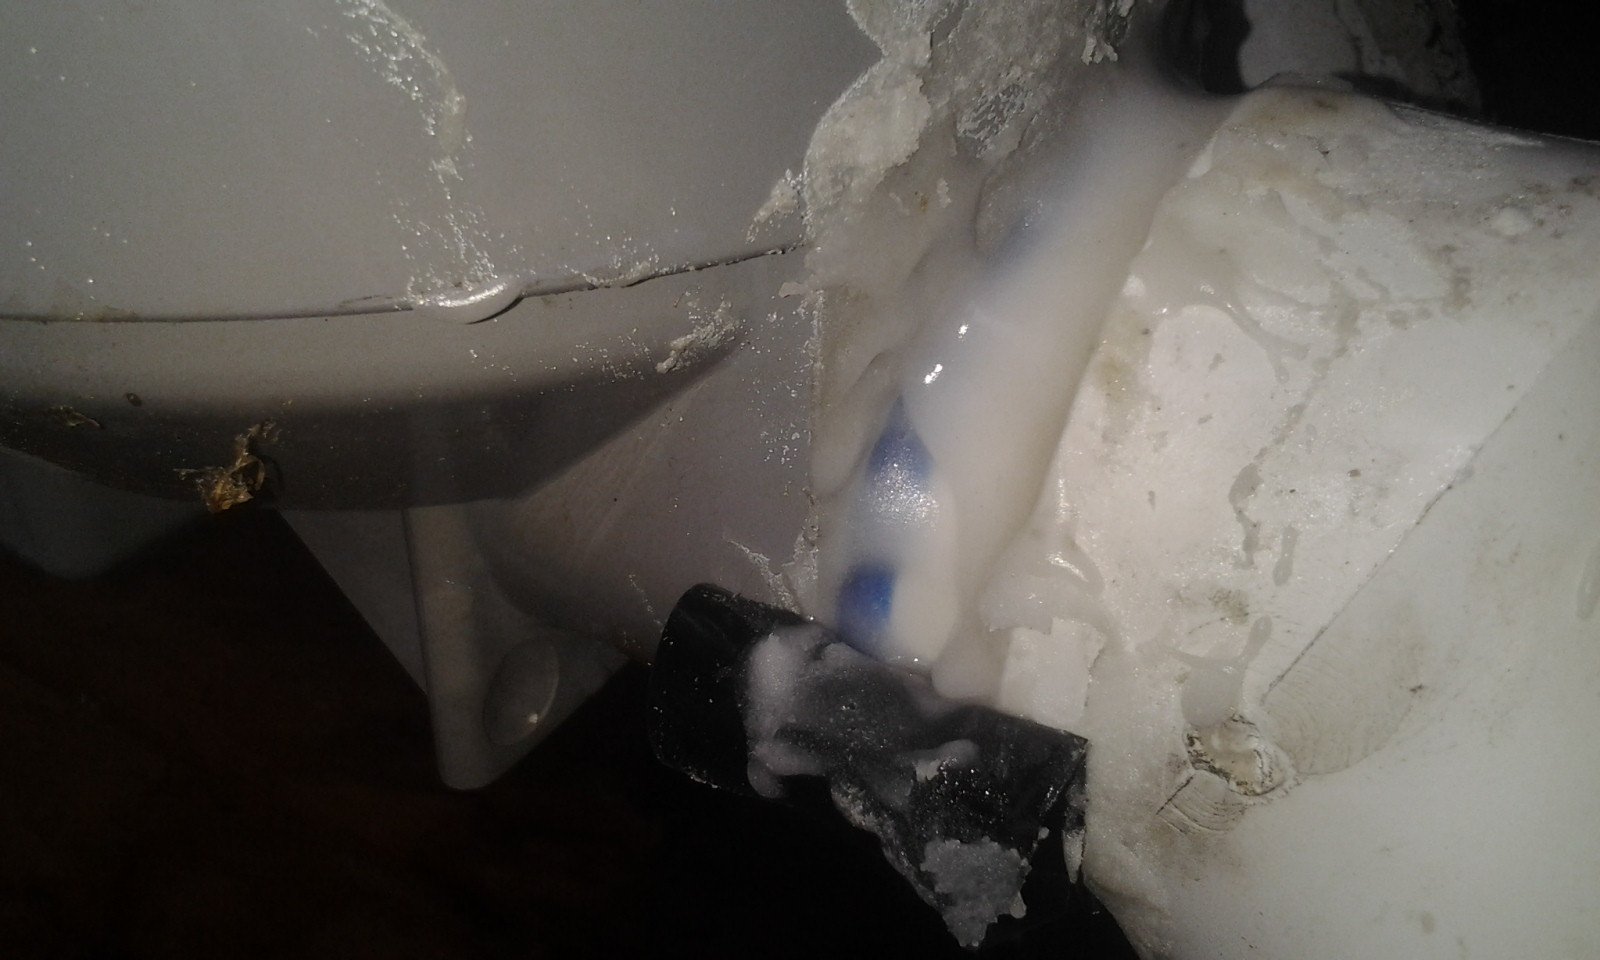 A close-up view of Plast-Aid in action along with the electrical tape dam to hold it captive while it cures on the PVC fittings.
 Last One:
Overall photo of the installation:
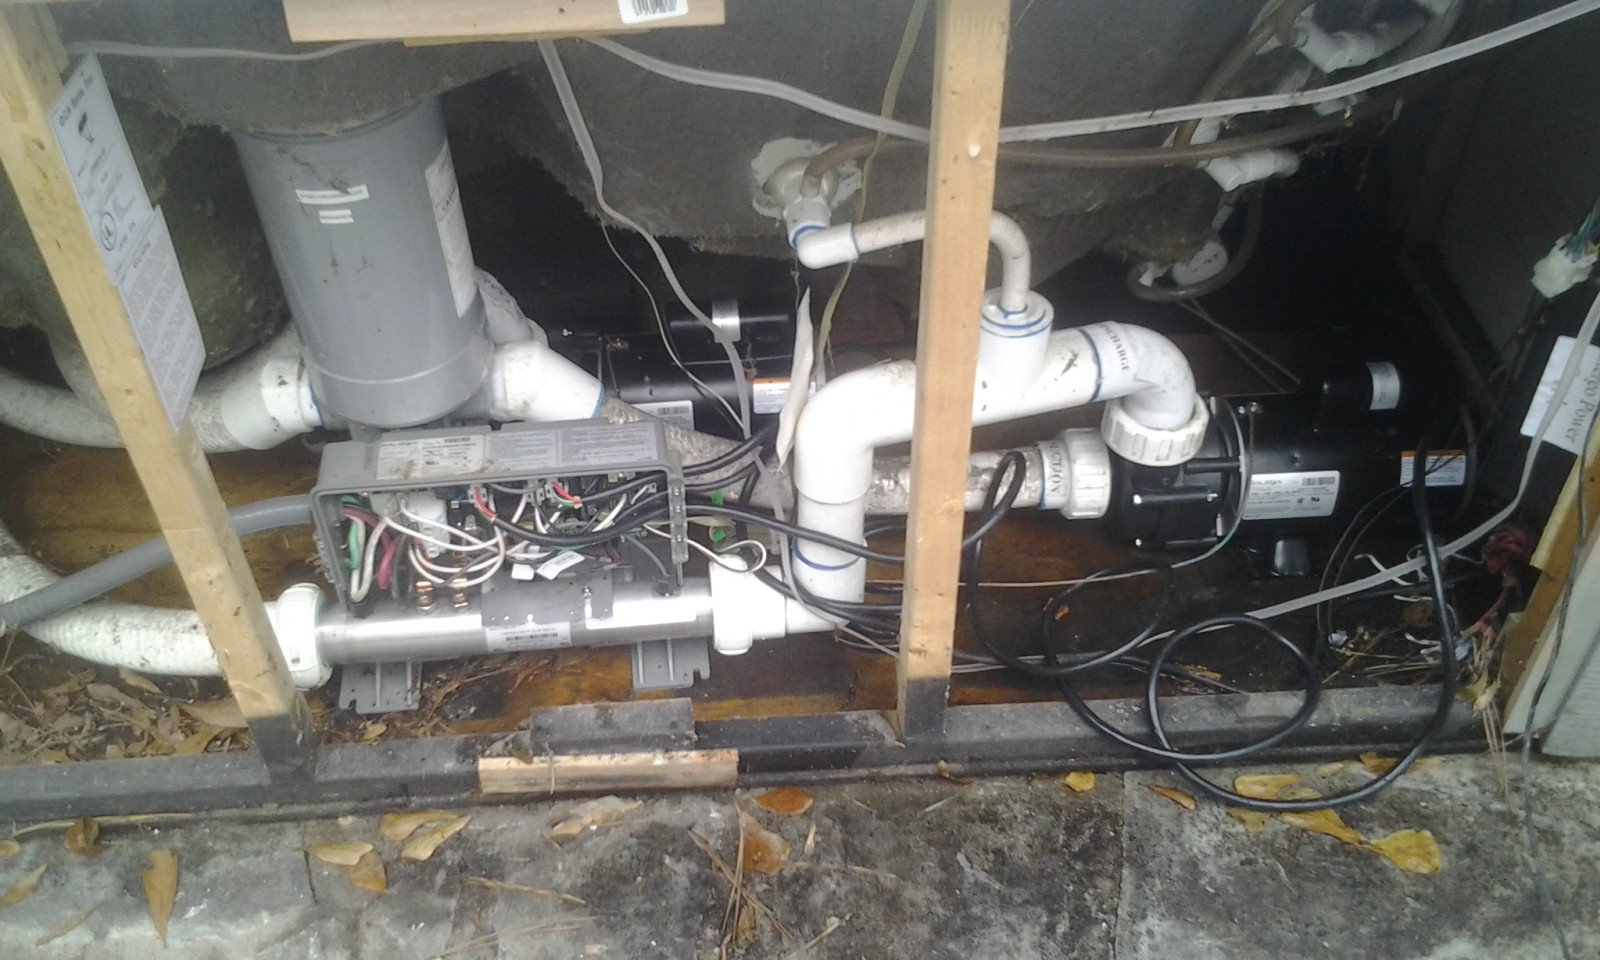 Yeah.. that 2.5 foot section going to pump 1 suction may as well be hard pipe. So, the question really is, replace entire cannister, lose a lot of time – or fix with Plast-Aid which is stronger than all that pvc combined?
Honestly, while to date I experience a 100% success rate with Plast-Aid repairs, on everything from cracked wet ends to pvc manifolds, I have about a 75% success rate on first time in and done repair. That is, the one you see above, I actually had to go back and apply by hand more Plast-Aid on the back side that I could not see with my eyes because there were small areas that leaked water. Sometimes it’s just repair – by – feel. The tape dam is not a be all to end all in guess-work. It’s just the way it happens in the field. I’m happy that it worked out this way, much better than having to replace the entire filter cannister, which can take as much as 4 hours depending upon all fittings, flex pvc, temperature and everything else involved.
If you ever have any questions about Plast-Aid, you can either call the company that makes it or even give me a call any time. I’ll be really happy to tell you how fantastic this product is. It has saved my customers over the years THOUSANDS of dollars in re-plumbing costs.
This stuff, IS magic goop in a bottle.
Other recent repair examples:
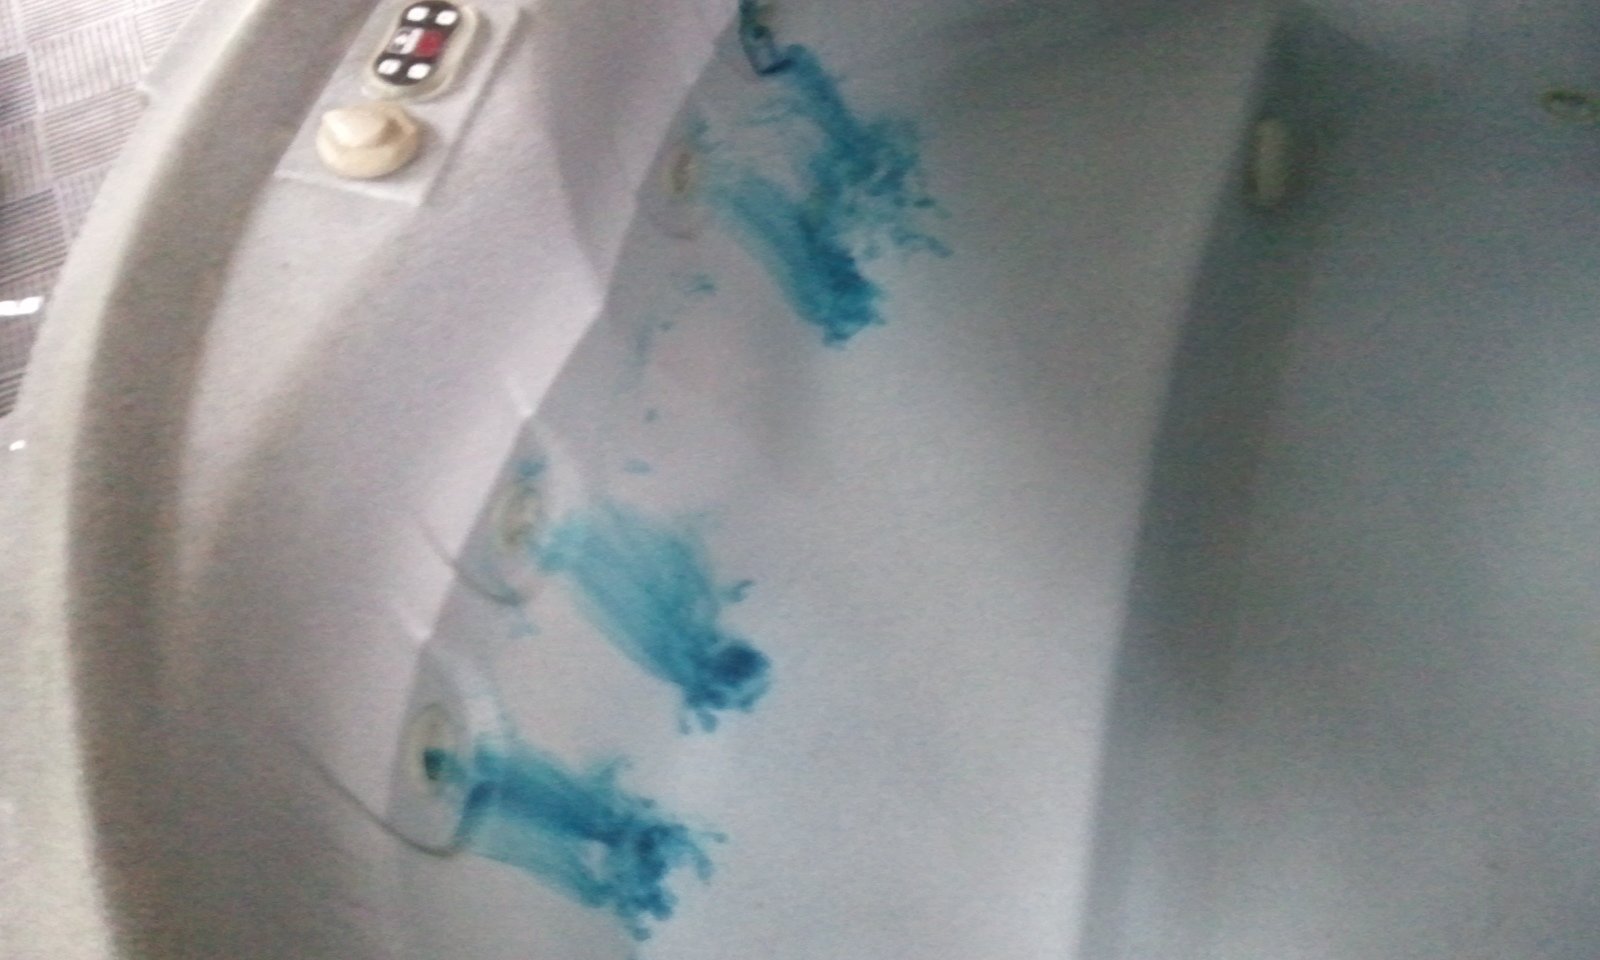
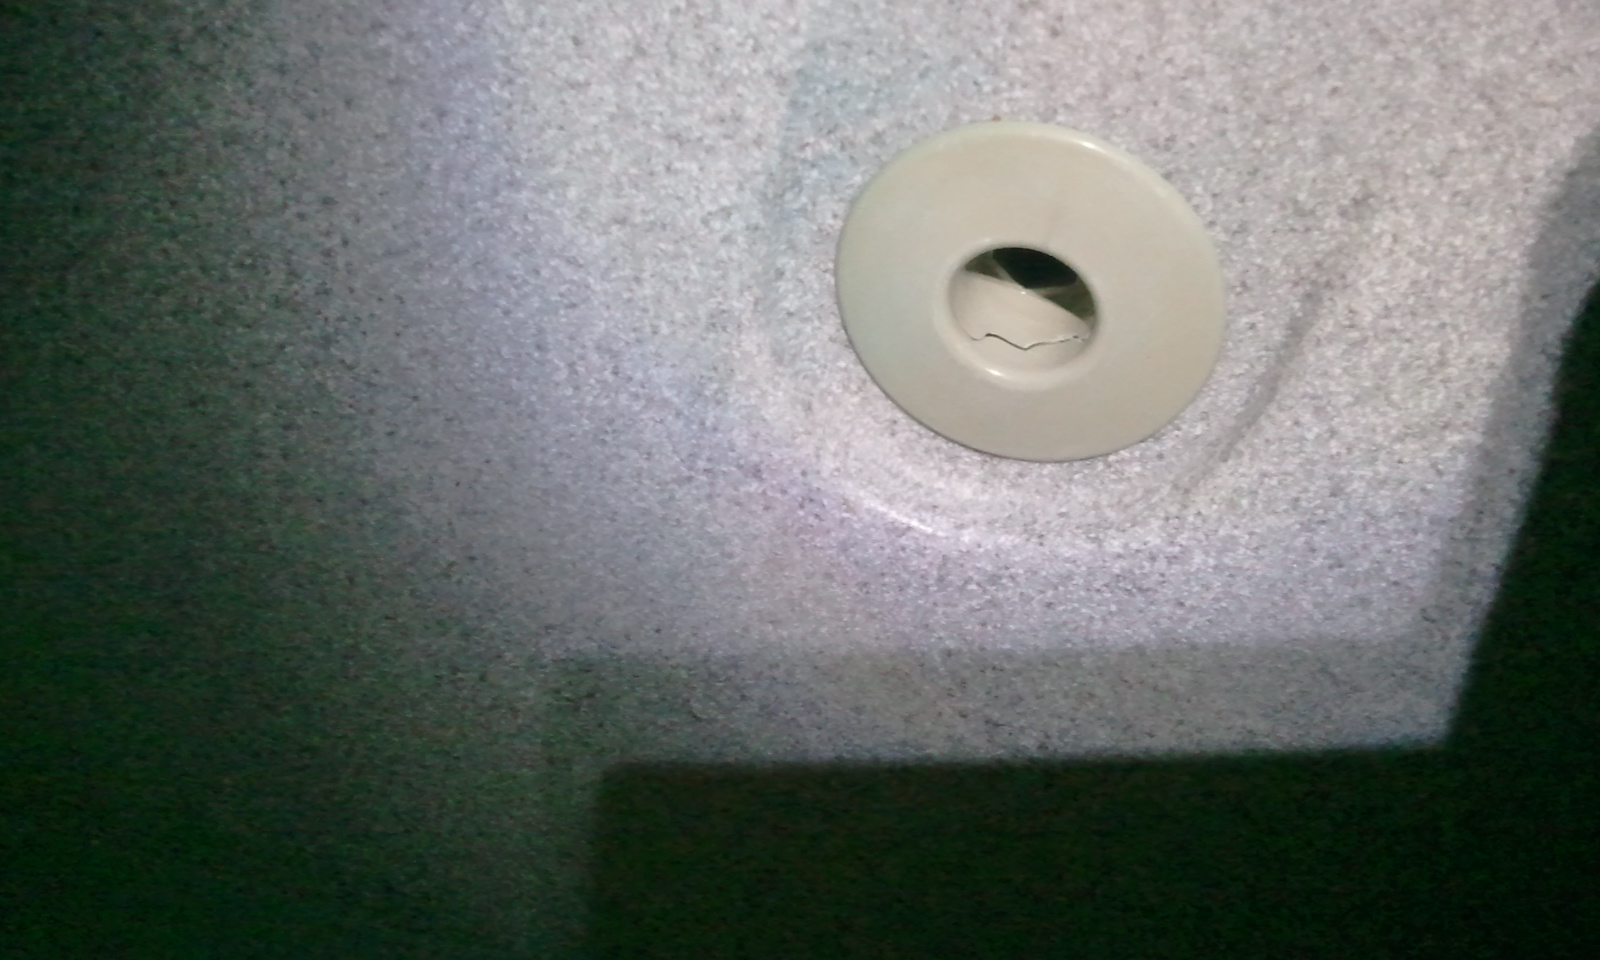
 See that crack on the suction fitting? Yeah. I’m out in East Point, and it’s either drive back 40 miles to supplier, pick up new wet end and drive all the way back to put it in. No Way I’m doing this. Bring out Plast-Aid. Fix crack in 30 minutes, go home.
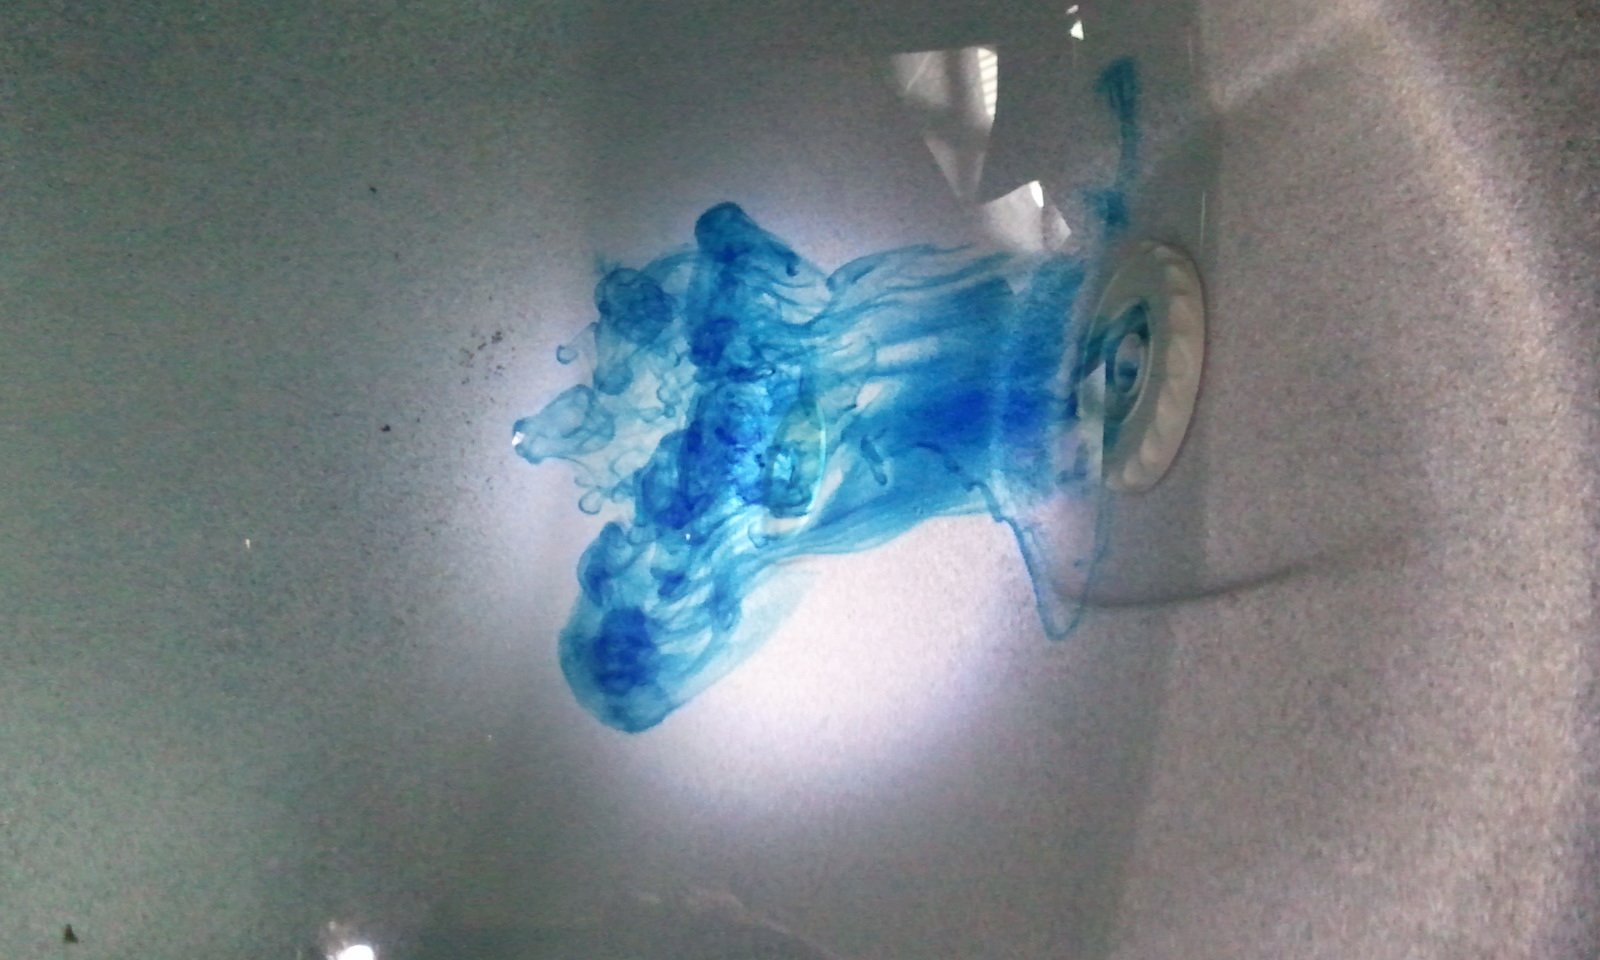
 Look at that lovely mess – Plast-Aid saves the day (and me a LOT of driving time for no reason!). Plast-Aid by the way, is stronger than the material it is fixing. There is no other repair material available anywhere at any price that is better than this stuff. It also saved my customer about 250 bucks. My customer loved this stuff, and watched as I demo’d the product to him. (This stuff is fun to show off).
Plast-Aid will, reduce your plumbing problems to a minimum, allowing you to move on to more business, save your customers money, get you more referrals because you saved them money.
Even if you don’t need me to fix your spa/hot tub, buy Plast-Aid just to have it. You can get this product from the same place I do. Plast-Aid.Com
There are a lot more links to Plast-Aid on this blog than I’d like but I couldn’t help myself. By the way did I tell you I LOVE Plast-Aid? There is no better tool in my truck than this stuff. Get it, got it, GOOD! It’s amazing.
If you EVER have any questions about this product I encourage you to call me immediately, it doesn’t matter if you’re up north or down south, or out west… call me. I use it every week and it saves me many hours of un-necessary work, and many $$$ of charges to my customers. Note that I make no money from promotion of Plast-Aid. These people don’t even answer my complimentary emails either. I have no idea who they are but what they got here WORKS, and my business cannot live without it!
Ok Folks, have a wonderful Plast-Aid day!
:^)
![]()