Replacing a Suction Cover on a Jetted Bathtub Drain

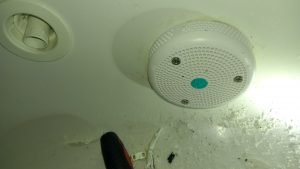
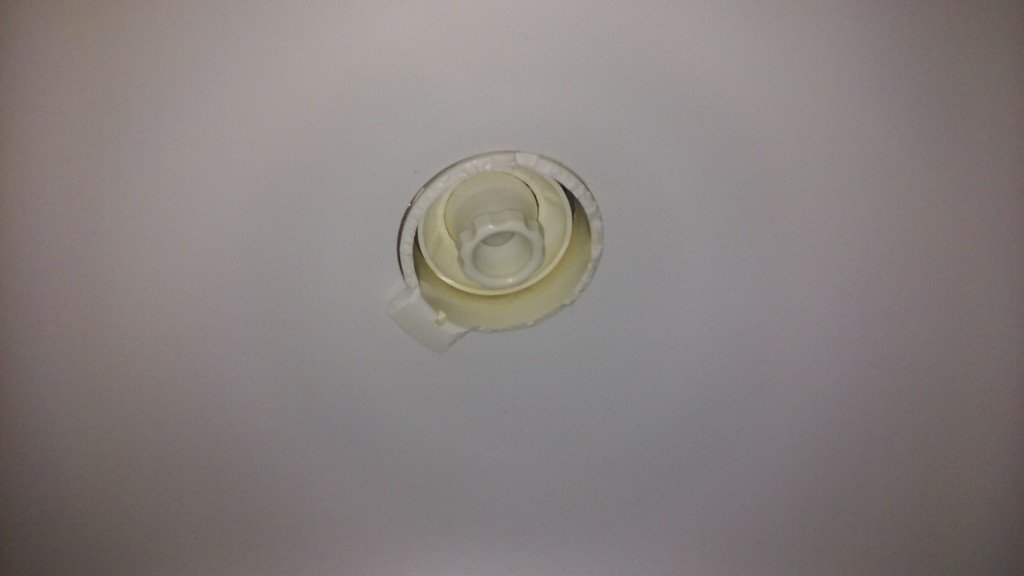
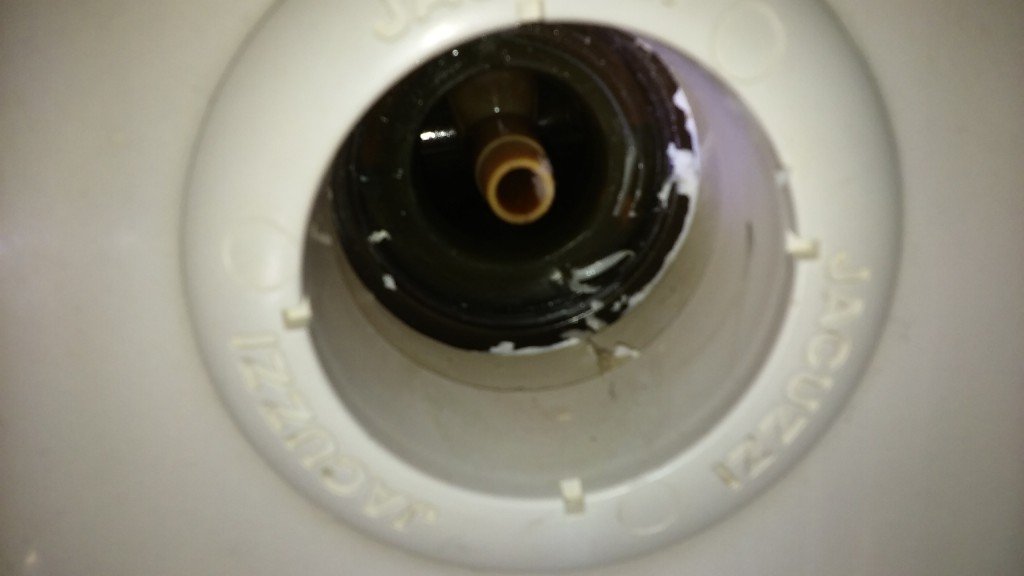
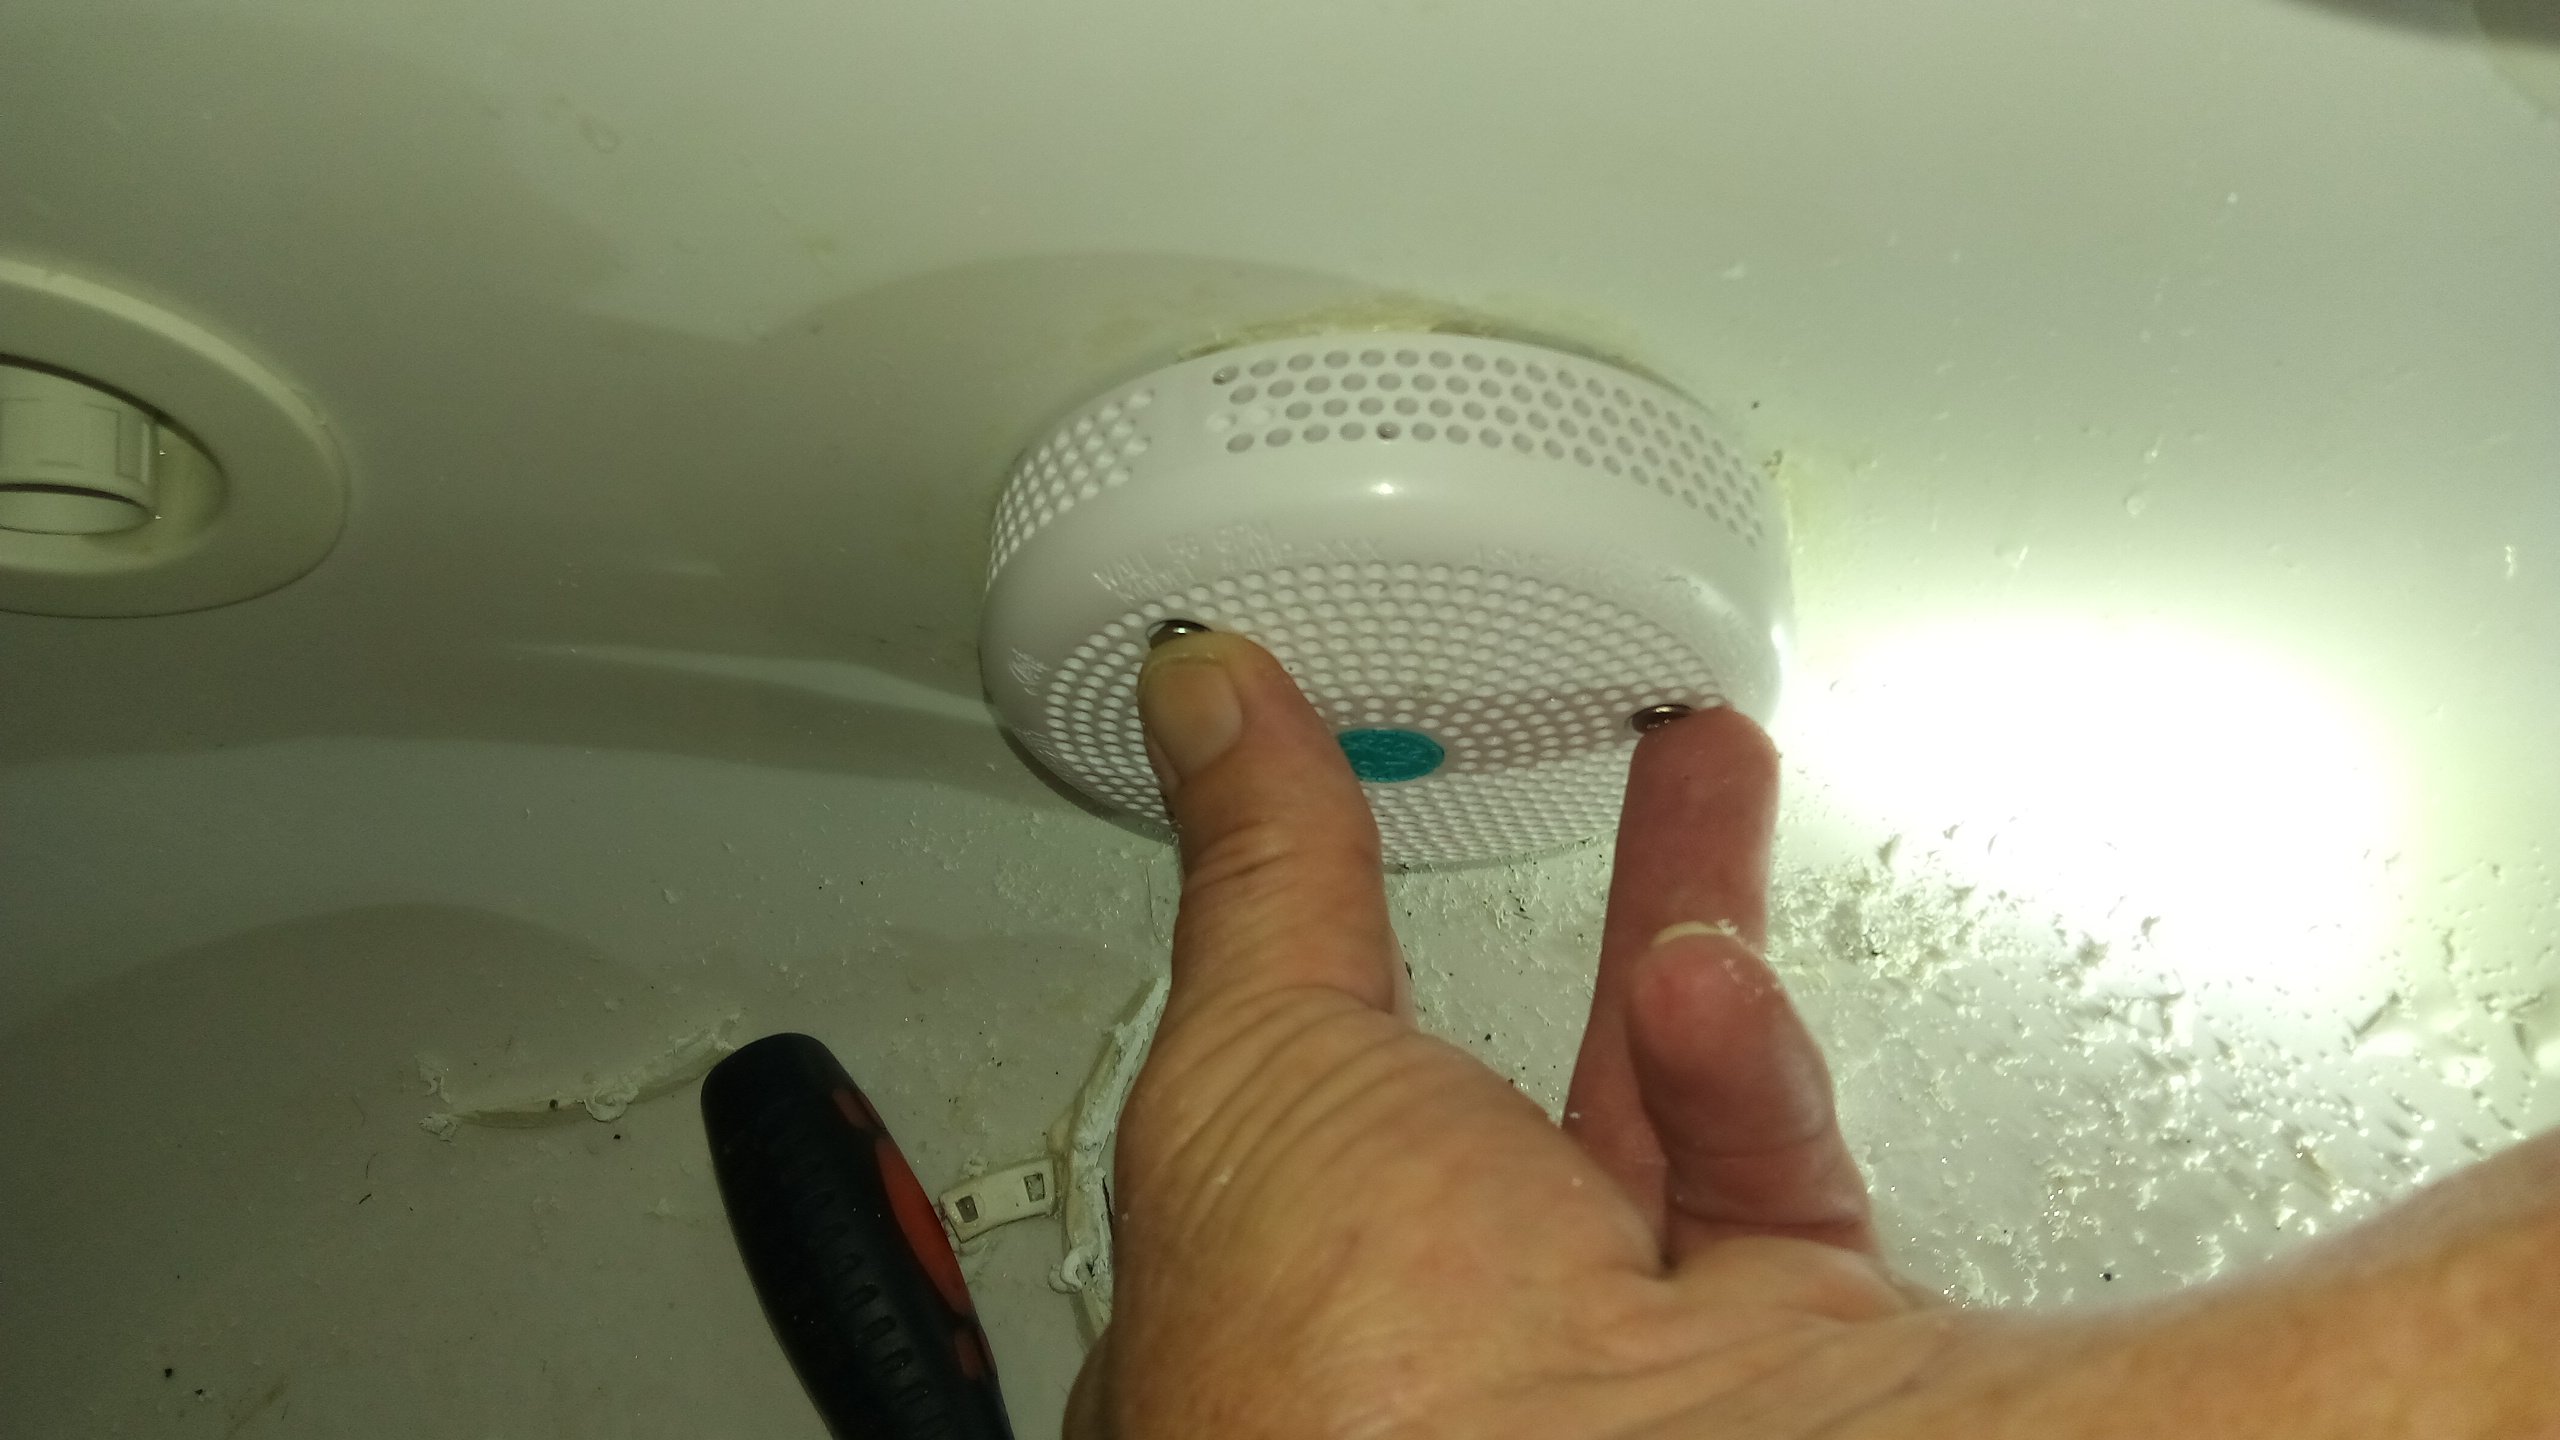
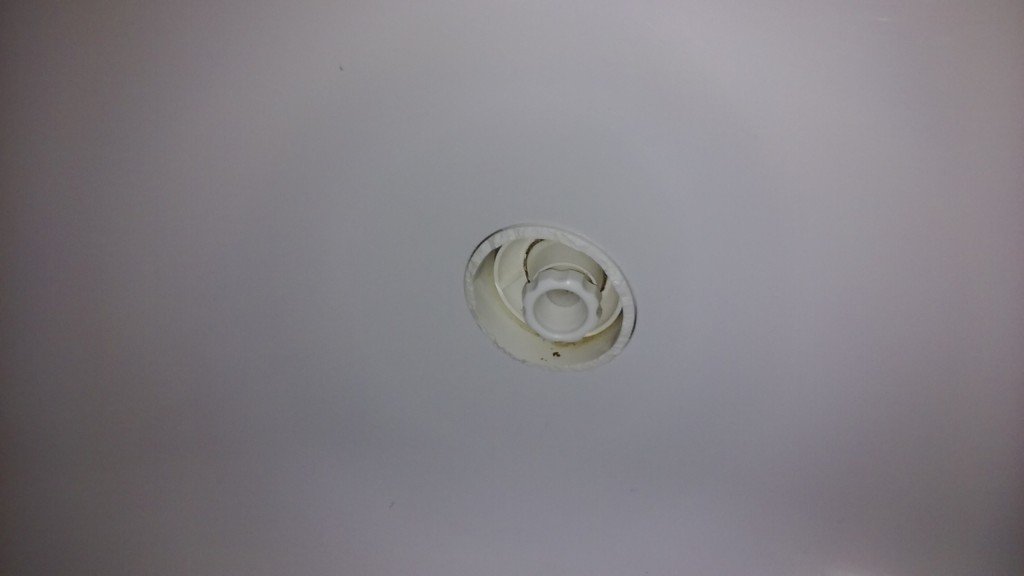
This was a case of a missing suction cover that was no longer available from the manufacturer.  All jetted tubs should have one as without it, it is a safety hazard.  With a new suction fitting assembly, I first checked to be sure the new cover would completely cover the existing suction fitting:
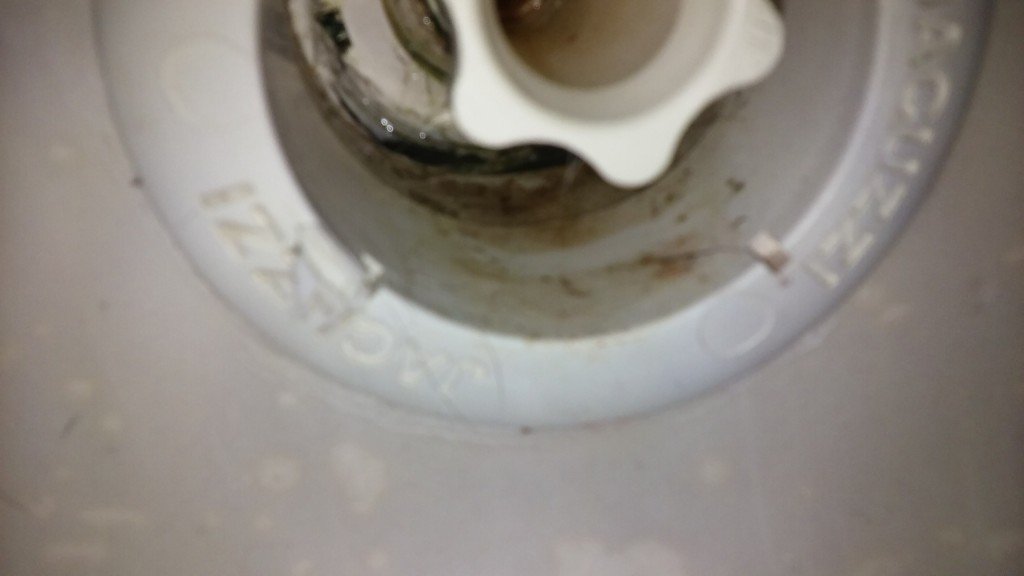
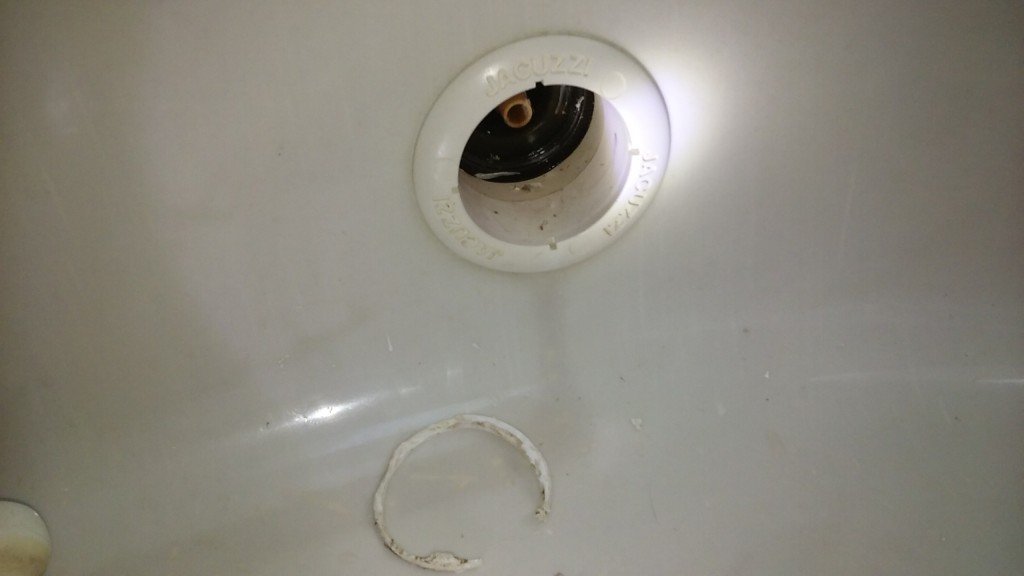
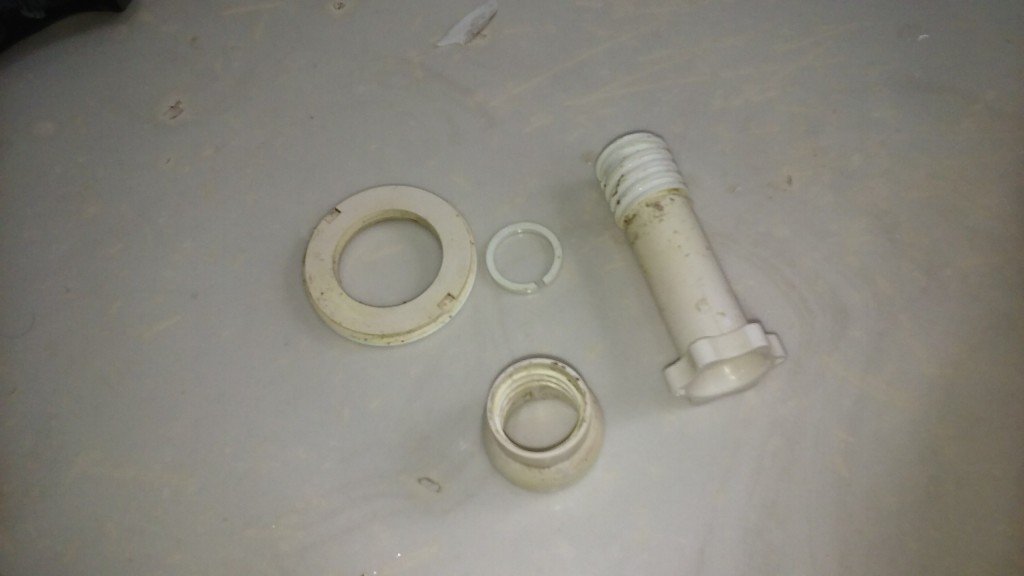
Next up, was to remove the 3 legged ‘spider’ part from the new suction fitting:
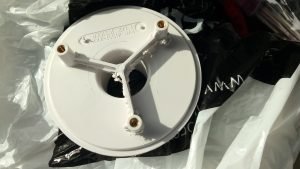
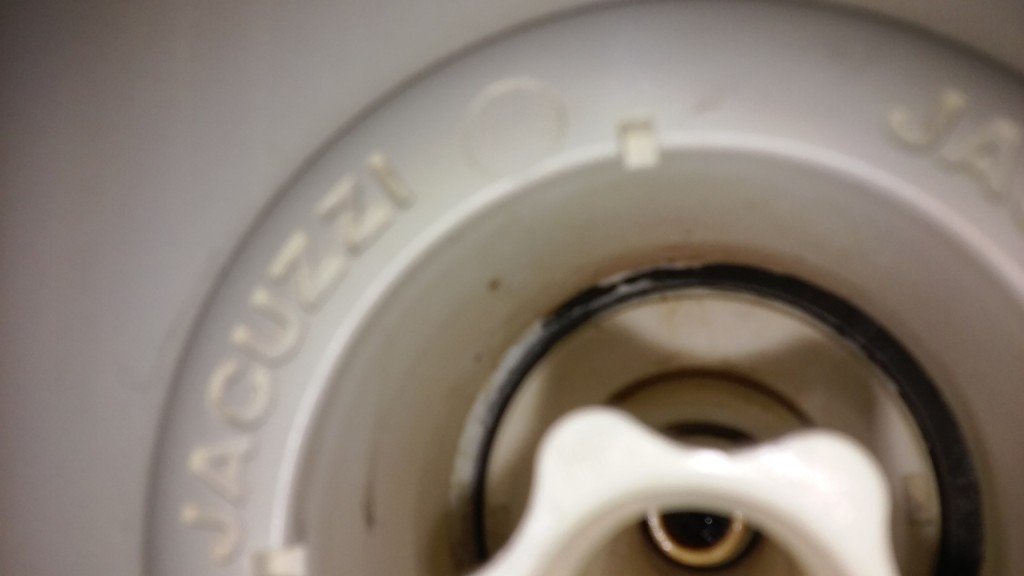
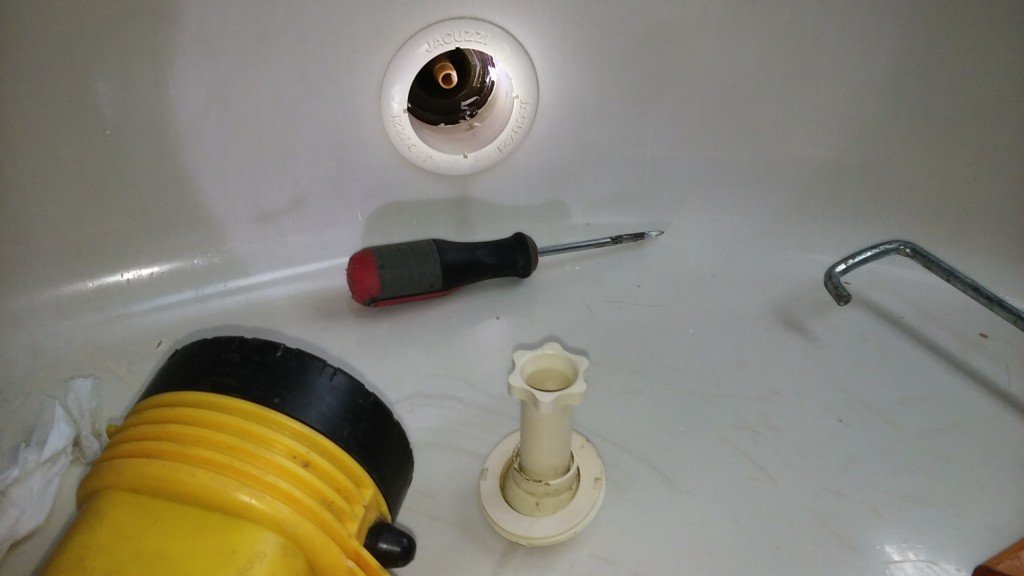
You can either use a dremel cutting wheel, or a vibrating multi-tool with a cutting blade.  The latter is what I used in this case.  You can see the bits of plastic hanging off the ‘spider’.  That’s the part that the new suction cover screws into.  In the below photo, is the separated mounting spider and the new drain cover:
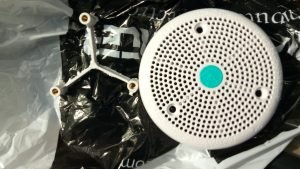
Next use Plast-Aid repair (acrylic adhesive) to mount the spider to the existing bathtub suction fitting. (Sorry, no photos for this part!)

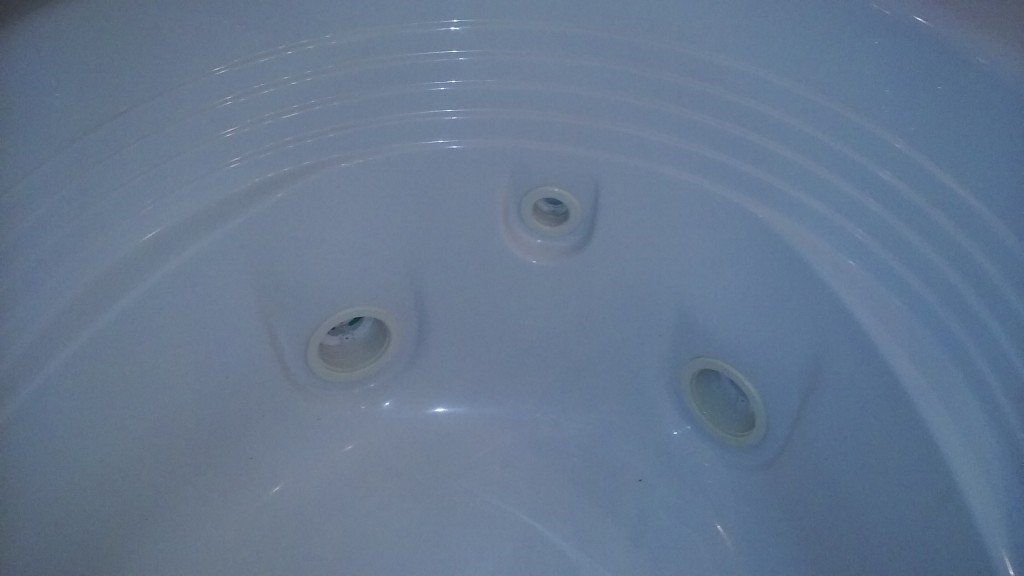
Then, mount the new cover to the old jetted bathtub suction fitting (using the 3 screws it came with), and admire the handy work!
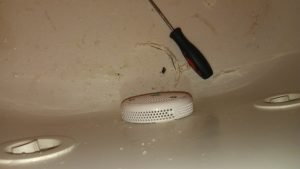
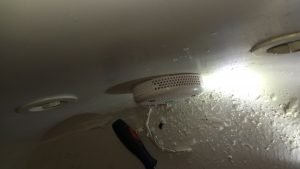


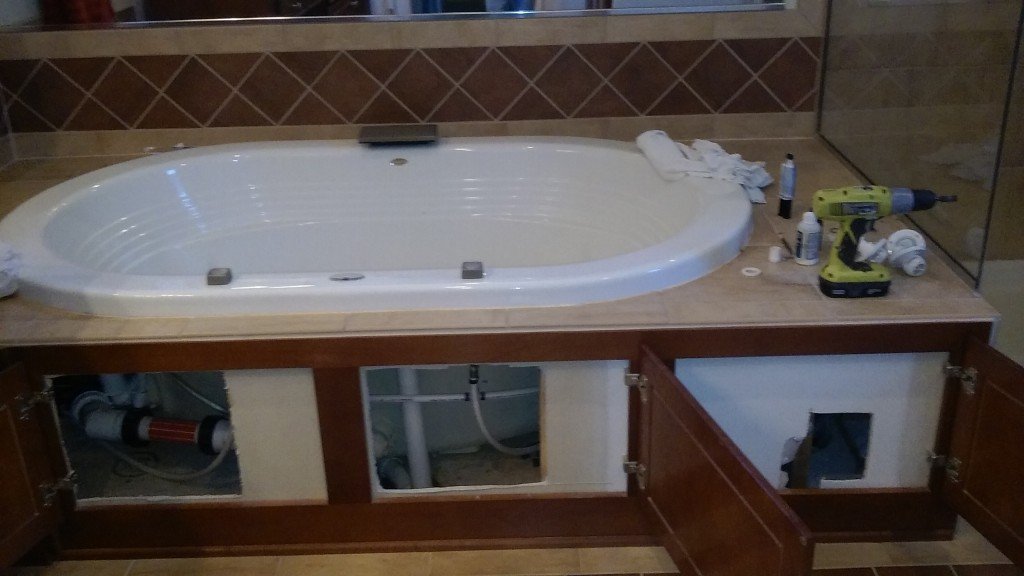
So one may ask… Why do it this way?  Why not just replace the entire suction fitting instead of hacking it together like this?  Let me tell you, jetted bathtub repairs can be a real pain because often, there is NO ACCESS to critical parts of the plumbing unless you do something quite drastic:

Cut through and remove tile and backer-board…

Cut through ‘whatever is in the way’, just to get to the plumbing, etc…

Even if you could do that, replacing a suction fitting on a jetted bathtub can be a herculean task, unless you have full access to the plumbing from the suction itself, all the way to the bathtub pump suction fitting.

In this case, it wasn’t possible, and removing the bathtub was not an option, as the condo was on the real estate market, and was scheduled for closing in less than a week!  The home owner and realtor were ecstatic with the outcome of this bathtub repair to say the least.

If you’re home is on the market and need something like this repaired, feel free to give us a call:


Water Chemistry Busted to hell.

It took me 15 years to realize that my own hot tub kept falling ill to the typical manufacturer or industry recommendations for treating hot tub water.  I had all the same symptoms of my customers… jeez got the typical leaking pump seals, o-rings going bad… all of it.
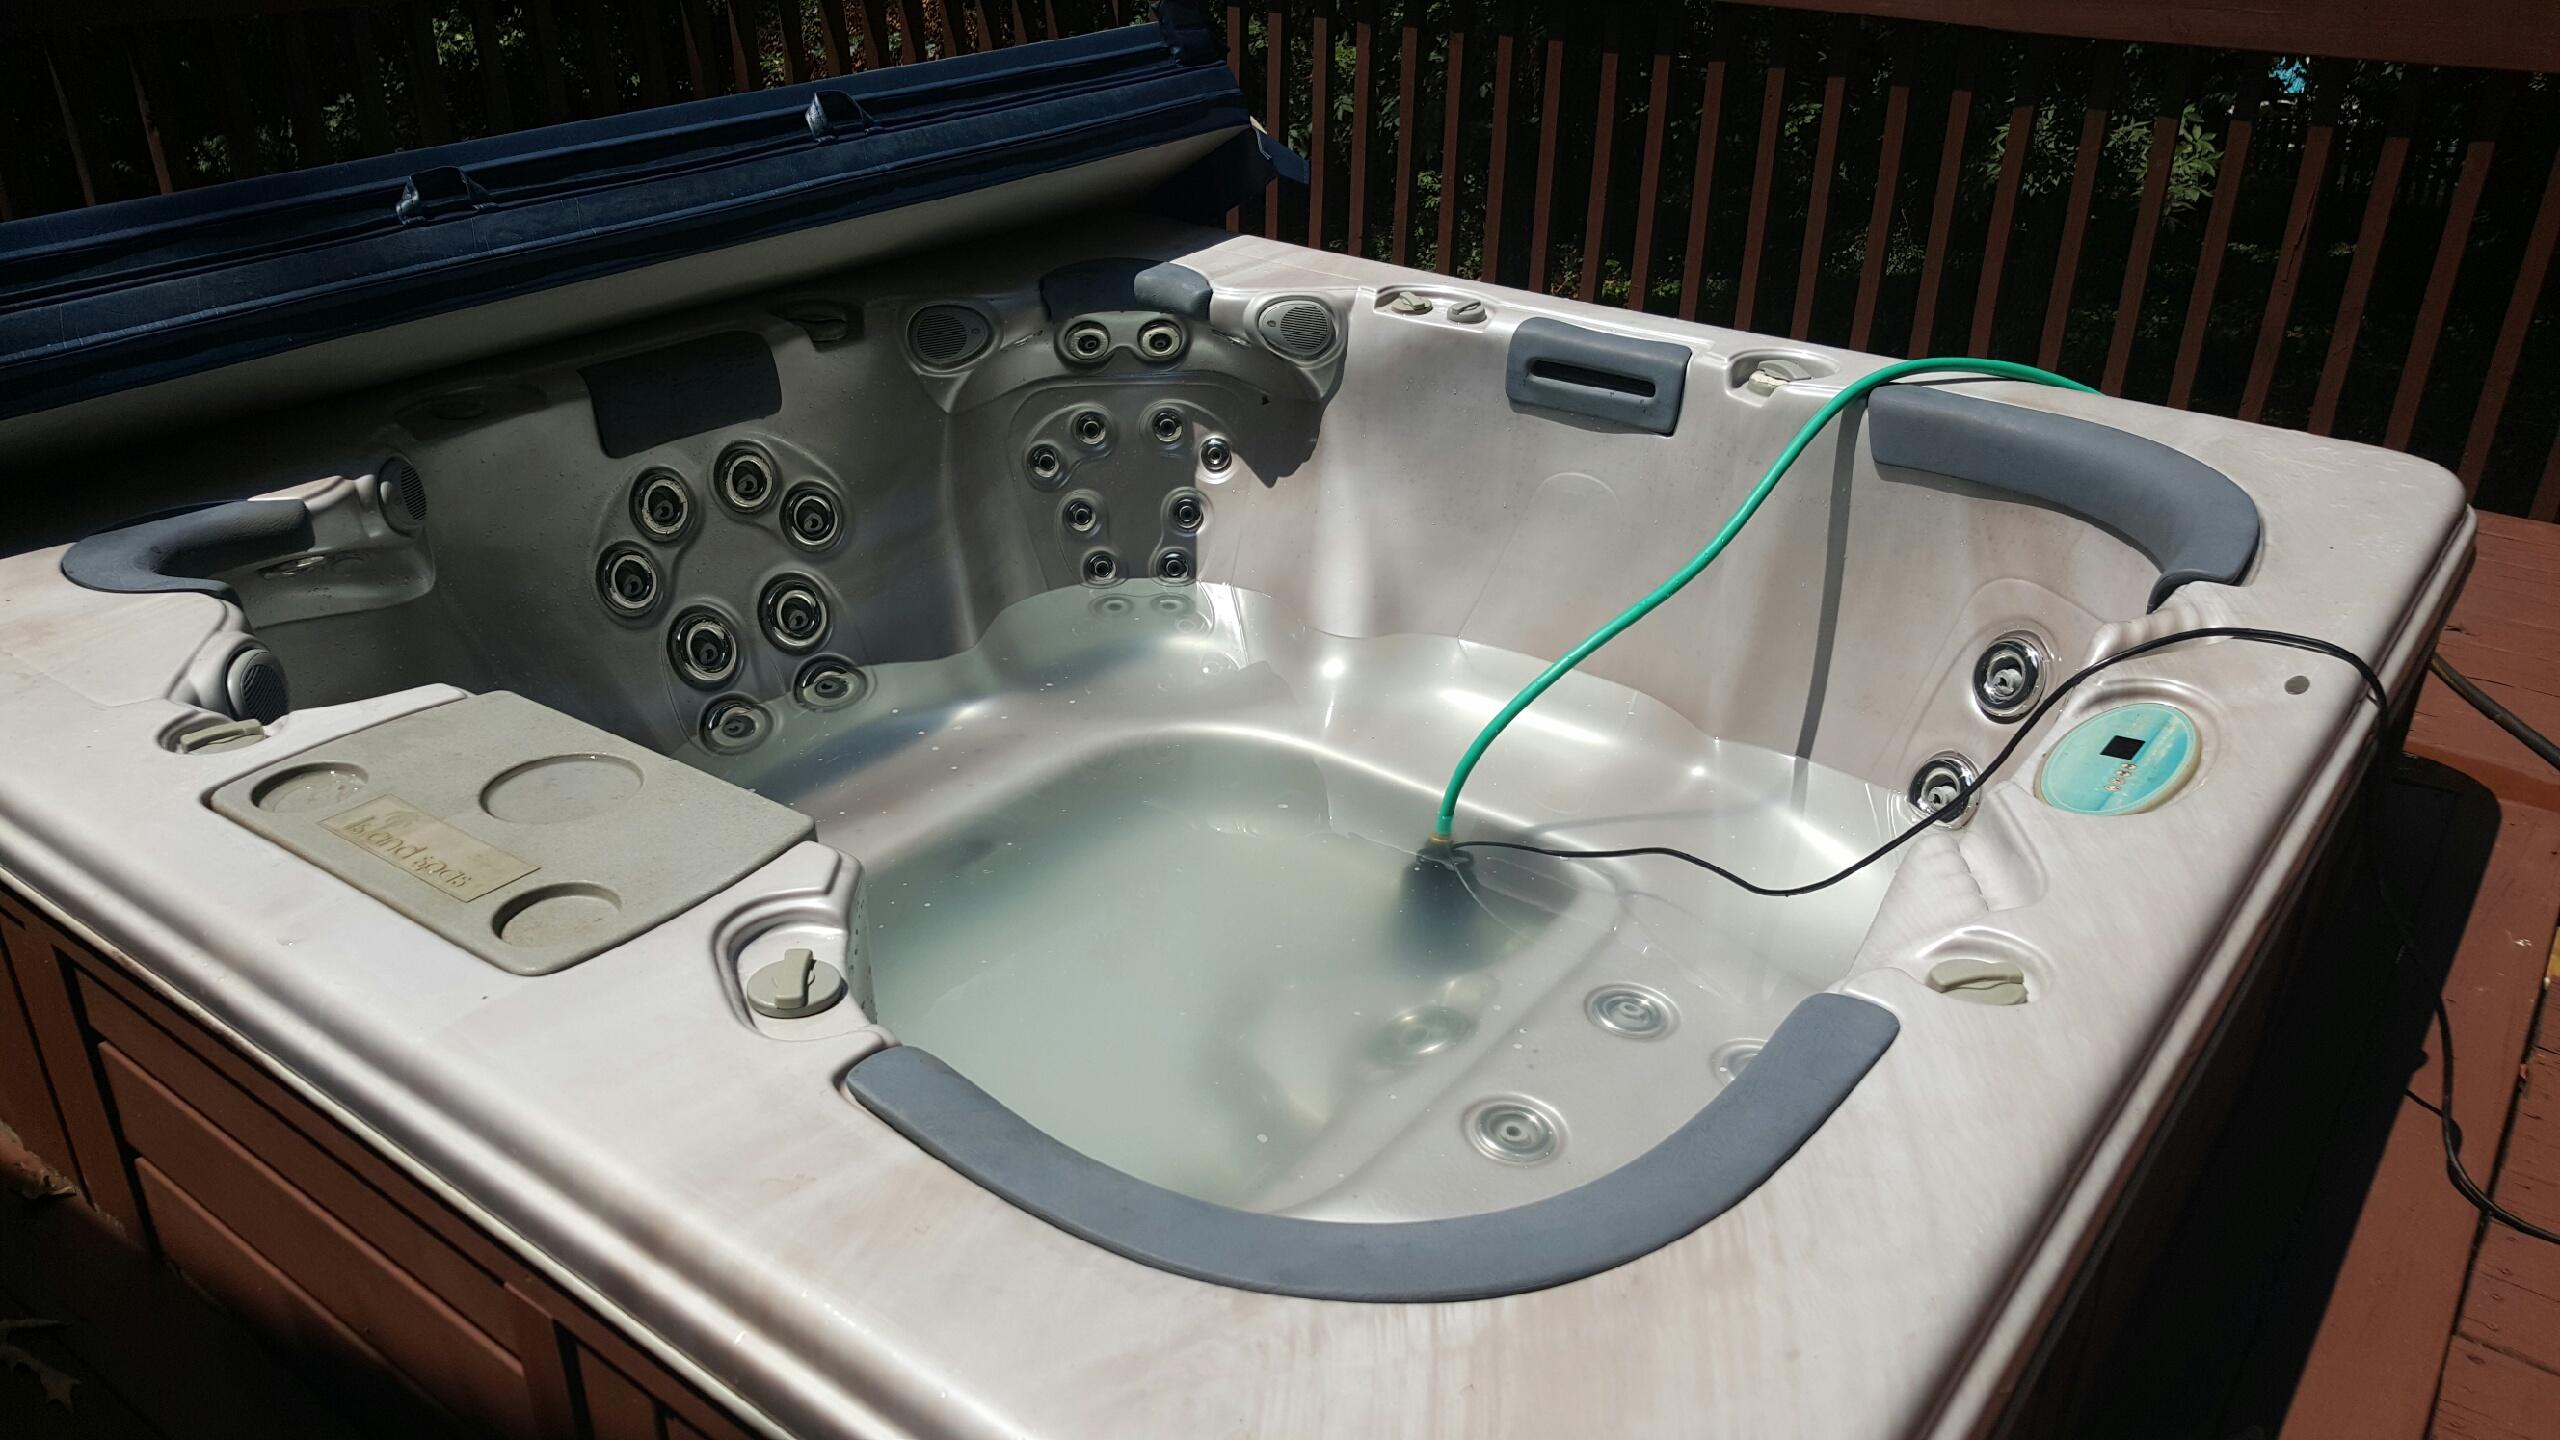
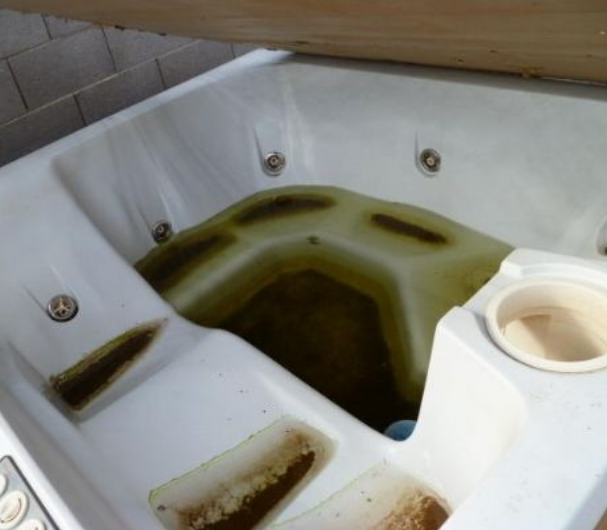
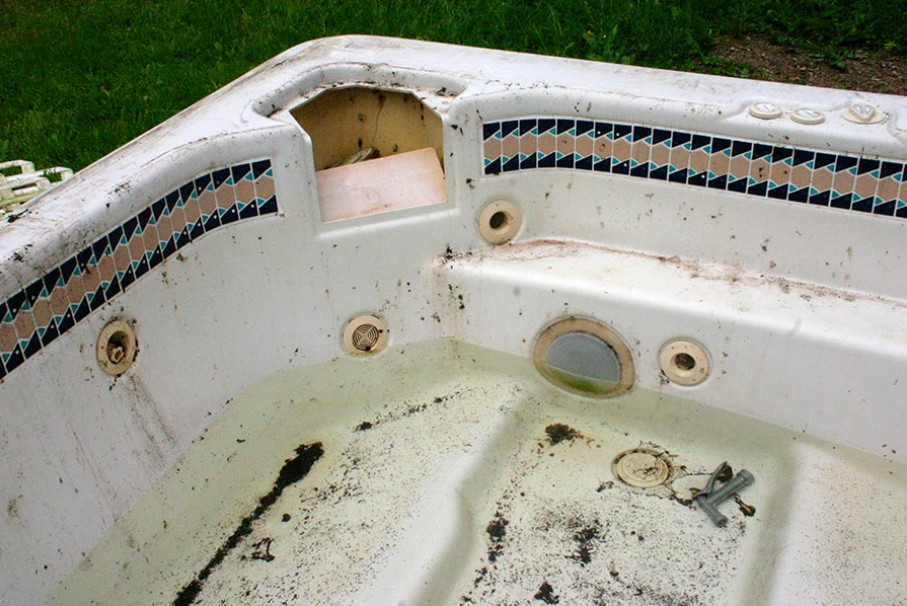
As a repair guy I made it a point to follow the leaders in the chemical industry that support hot tubs and spas…. only to finally figure out that I’ve been doing it WRONG, for 15 years!

Walk into any hot tub or pool store and it’s like a chemistry class… It’s turned us stupid people into money pits.

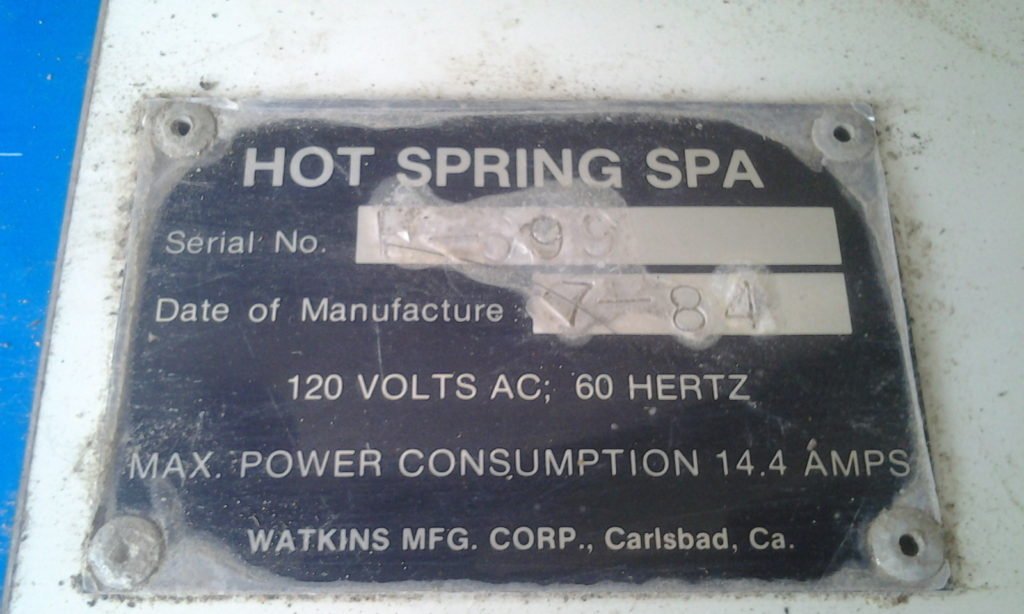
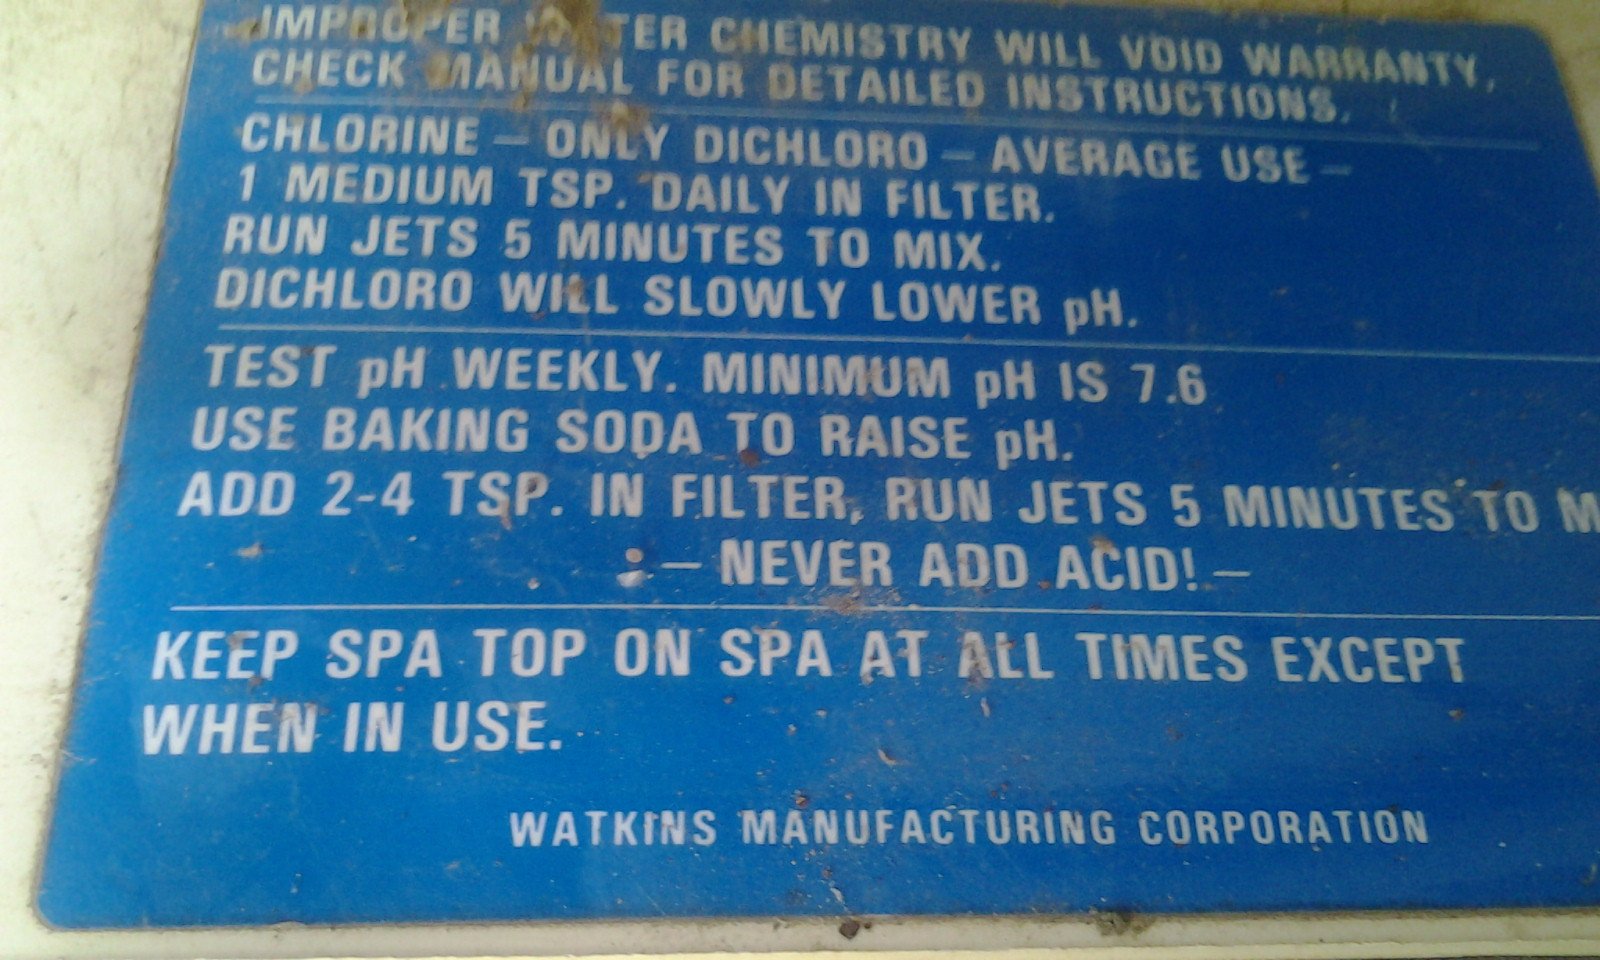
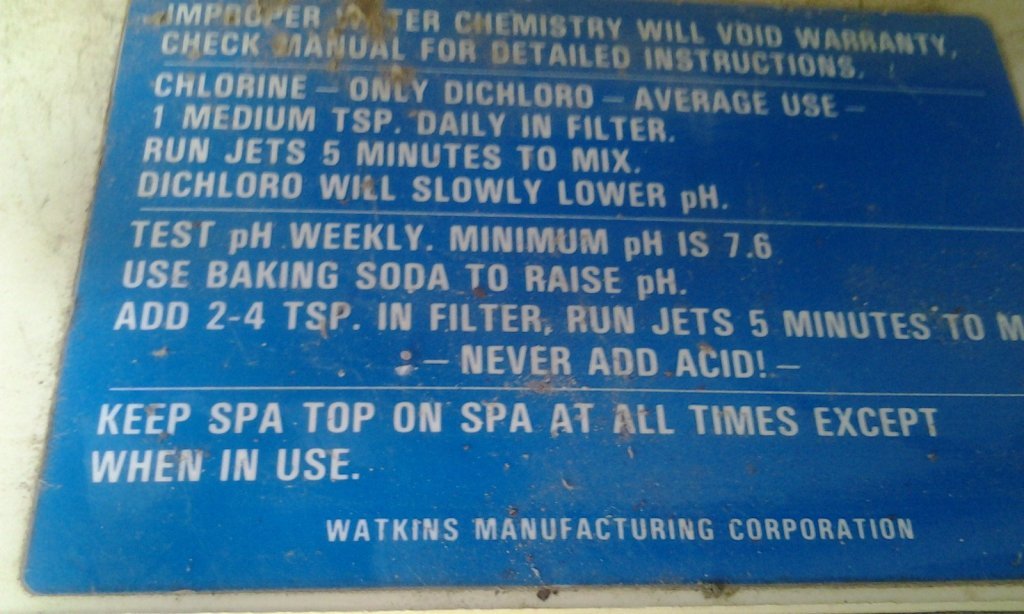
The above photo is from a Hot Springs Spa manufactured in 1984.  Look at that. So simple.

And by the way… can anyone tell me what the hell “Metal-Out” is used for?  You mean, I can’t drink from my hose in the back yard any more?  There’s metal in the water from my spigot that must be eliminated?

Seriously.

I had a customer that I visited a while back, and his equipment condition was literally perfect… a 15 year old Leisure Bay spa.  The only thing wrong was his circ pump had quit and needed to be replaced. I asked him… what the hell are you doing to take care of your water? Your equipment is amazing!

He said:

I tried everything the pool store told me to do. Used the internet, and nothing ever worked. Balancing according to their methods never worked for the first 2 years.  But I used to own a swimming pool in my previous house, and I had some Chlorine tablets in a bucket.  So I just beat them with a hammer and broke them up in pieces, and threw them in to keep the water sanitized.

I said:

How did you monitor the chlorine level?

He said:

Well I thought you were gonna give me a hard time about this, but what I do is I literally smell the water. If I smell a bit of Chlorine, then I know I’m good.

Wow, that bit even changed my own nature of advising customers about chlorine and sanitizing hot tubs. The only other advice I gave him was to add 2/3 small box of baking soda to his tub after draining and refilling the tub, to keep his ph from dropping to acid.

Shortly there after, I had another customer with a similar problem, pump 1 was dead… but her equipment was literally in perfect condition, no corrosion, no mess…  I was amazed at this.  This almost 20 year old spa had never been worked on, and I asked her… HOW are you taking care of your water?  She told me well… I tried what the spa store told me but after a while it didn’t work. I asked again… but how did you kill the bacteria and germs and stuff?

Heh… classic. She said: I just put in some bleach every couple of weeks… The water in this hot tub was fabulous, the equipment had ZERO evidence of corrosion.  Just a failed pump from years of use. I told her simply to add baking soda to the water when she refills the tub.

Which brings me back to the original chemistry template that Hot Springs put out in 1984… Just do this one thing, and it will work.

Hot Springs had it right from the beginning.  Keep it small, keep it simple, and you will love your tub again!

If you have a question about this simple solution for water chemistry then please give us a call any time.

Download Sanitizing Instructions

What is killing the hot tub business! (Water Chemistry)

I entered this industry in 1996 – as a former electronics technician servicing hot tubs.  Seeing the world of Balboa Instruments and such in a Morgan Spas store got to me.  Unfortunately for me I had never learned how to plumb a garden hose in my entire life, so learning plumbing on hot tubs was my A.D.D. issue for about a year.  Having graduated the school of hard knocks of plumbing – one thing loomed in the back of my head for the next ten years… Water Chemistry. I HATE chemistry. My son takes in in college now and I hate it even more.

What’s worse, just go to any pool/spa store in any town and you will find the it LOADED with TONS of chemicals and all other sorts of things to spend yet another 18 bucks for something else with the back of the bottle in such micro-type it makes an industrial MSDS look EASY! Not only that, but the bottle might be light grey, and the print in medium grey, further rendering the product a useless purchase, especially if you need reading glasses and light to even read the insanity that is printed on these things.

After servicing hot tubs for more than 20 years, the one thing I can say is that the industry is destroying itself with bad chemistry, bad chemicals, and bad advice.

Let’s start this conversation with this photo, from a 1984 Watkins Hot Springs Spa placard, in the equipment compartment I found in my customer’s hot tub two years ago:

How to take care of your spa water

So basic right?  Why don’t we just eliminate EVERYTHING that the pool store sells for hot tubs, and sell two basic things! Sodium-Dichlor, and Baking Soda.

Now to allay fears of collusion with Hot Springs (lol) Here are photos of this really old Hot Springs Spa, but still working in perfect condition…

1983 Hot Springs Spa Watkins
1984 Hot Springs Spa – Watkins Manufacturing Corp.
Hot Springs Spa Equipment - 1984. Perfect!
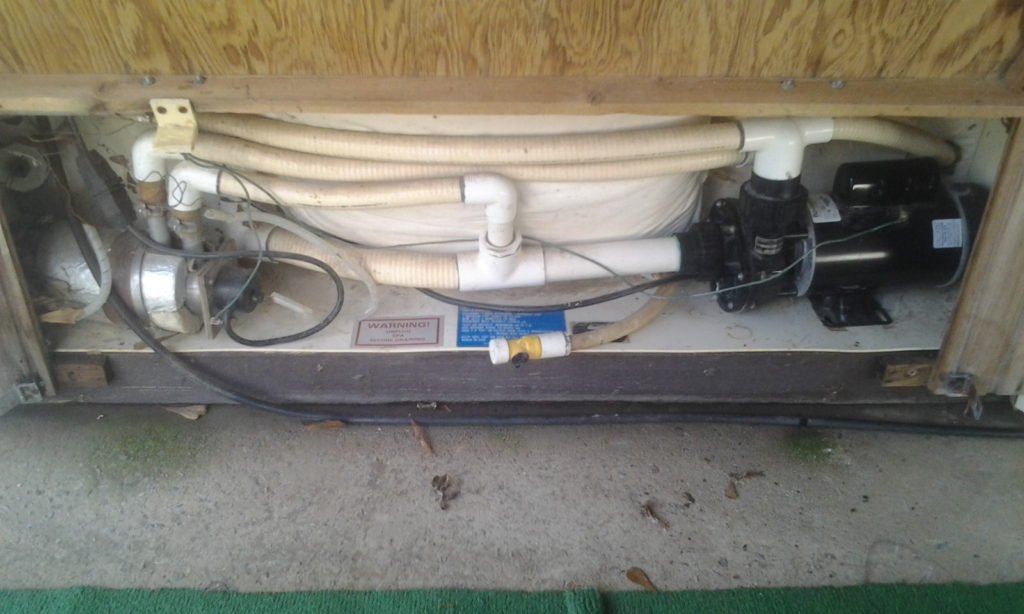
An immaculate equipment compartment, following the rules stated by Hot Springs in 1984.
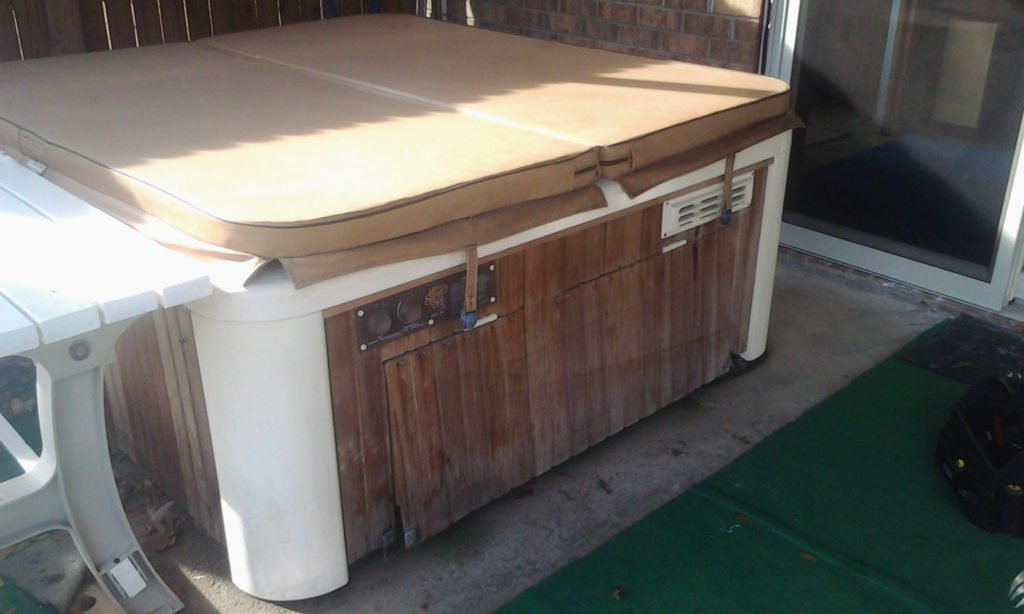
1984 Hot Springs Spa - Hot Tub. Still works perfectly in 2017!
1984 Hot Springs Spa – Hot Tub. Still works perfectly in 2017!


1984 Hot Springs Spa - Hot Tub. Still works perfectly in 2017! Inside View.
1984 Hot Springs Spa – Hot Tub. Still works perfectly in 2017! Inside View.

Now, at this point this is where I must chew off my right arm having slept with the ugliest person in the room last night – the hot tub industry. It is a joke. This insanity must stop.  The people at the top (you know who you are) that are pushing for dealers to sell anything and everything to consumers to bolster their bottom line is total bullshit.

I am the dude the real people deal with every single day. I actually used to listen to you higher ups in the industry – for years I did this, and never gave out advice on chemistry, until I got sick and damn tired of my own hot tub’s equipment going to hell because of BAD CHEMISTRY ADVICE!

So, I went back to ground zero, and let me tell you, I had to rewind my brain back to the late 90’s, when I was working with Dimension 1 spa owners, and how they were taking care of their own spa water.  Some were going overboard following multiple confusing instructions from pool/spa stores, and others were not. The ones in the ‘NOT column, had the best equipment condition I had ever seen!

Why was this?

Because they weren’t dumping massive amounts of chemicals into their hot tubs. Simple.

Less chems in your water is better than more. OK?

A hot tub is basically your personal fun bathtub!  But if you keep injecting all types of industrial crap into it it’s gonna be a nightmare and you will eventually end up calling me or another service to fix this or that because of it.

So what’s the answer? Rewind to 1984. Problem solved.

Another post to follow on water chemistry guidelines.

AAAAAnd…. I finally got a round tuit.


Older Jetted Bathtub (spa) leaks, Common Problem!

This is like the fourth in our series of Sealants and Epoxies are your friend.

Below is a photo of a VERY common leak problem in bathtub spas, also known as ‘jetted bathtubs’.

The most common bathtub spa/jacuzzi leak ever

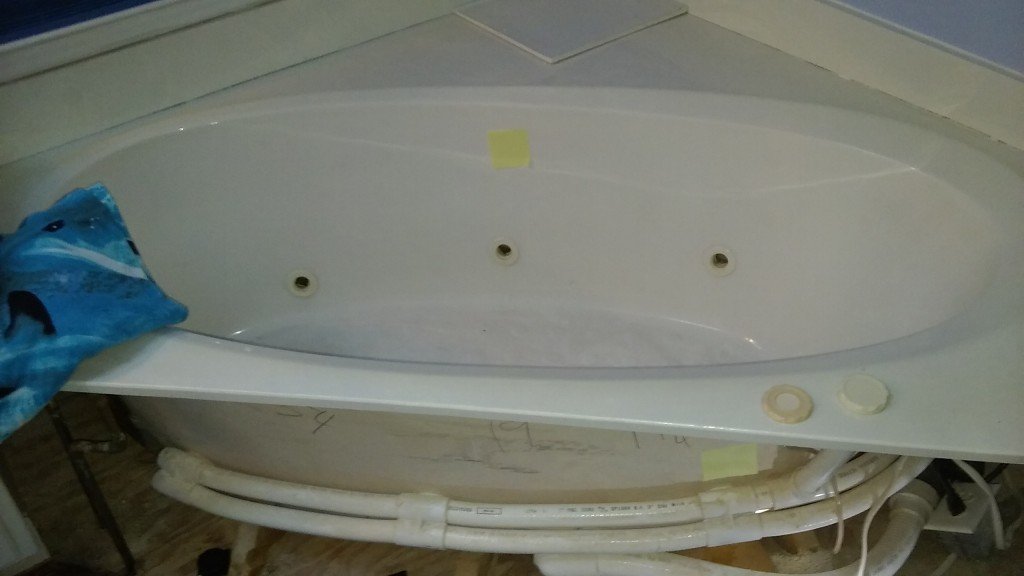
This tub uses the most common type of spa jet – a simple hollow ball with a nozzle.  Where these things most often leak, is from the flange edge that you can see in the photo above – that is visible.  At the junction of where that flange touches the tub, behind that is either silicone sealant, a gasket, or both.  Both is rare.  The customer that owned this bathtub had already removed everything around the tub for full access and diagnosis of the leaking problem he was having.

The solution is simple. Simply seal the area of the outside edge of the jets – all of them! Not just the 3 we had leaks on.  If the other 3 aren’t leaking now, they will be soon. It’s a quick and easy procedure and took less than 45 minutes to perform.

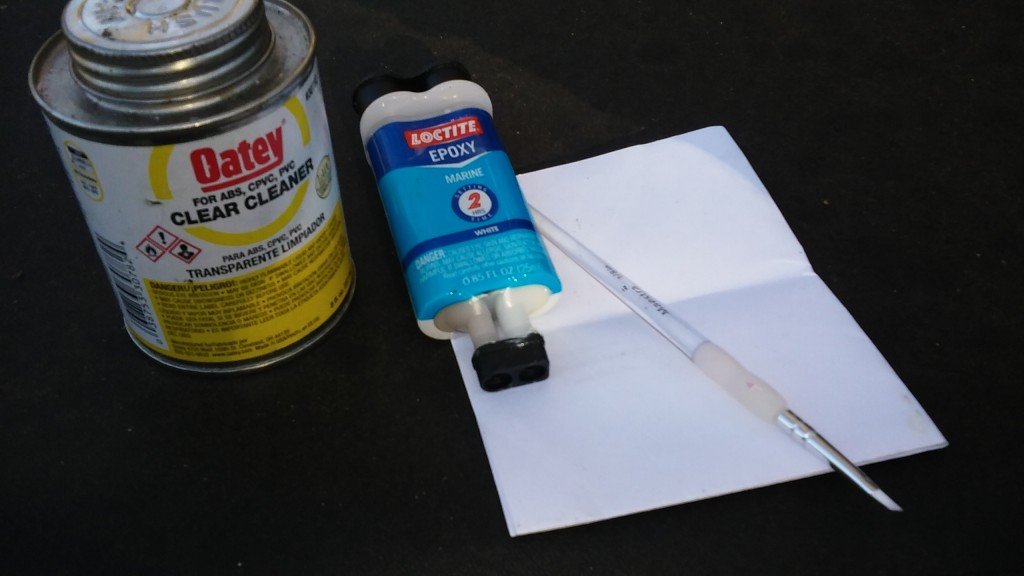
Enter our un-sung hero, Loctite Marine Epoxy – with a paint brush, and pvc pipe cleaner, which is nothing more than a mixture of acetone and MEK.  The small paint brush is used to ensure accuracy of application and limit excessive waste and over-application of the epoxy.

The magic toolkit - Epoxy and PVC Pipe Cleaner

Using the clear Oatey pipe cleaner around the edges of the jet flange and the tub, then drying it out with a paper towel – it ensures a great bond for the epoxy.  This is a really simple, quick and easy repair – I did 6 jets in less than 45 minutes.  Just take your time and use common sense. Typical home-owner repair cost? Less than 15 bucks!

Here’s how it looks!

Re-sealing Bathtub spa jet!

Note that the above photo shows the epoxy applied to the bathtub jet, with the jet insert removed.  In this style of installation, it’s usually pretty easy to unscrew the outside of the jet flange, and remove the flange and the jet nozzle which makes the repair easy.  Once finished, simply re-install the jet nozzle and the flange.  Any questions? Give us a call we’ll give you a hand with this.

phone

Leaking Jetted Bathtub – Hard core problem!

This one was epic. Take a look!

Broken flange on jacuzzi bathtub jetOnce you see something like this – you think, OMG, the tub needs to be replaced – $6000!
Well yes and no. In this particular instance, ALL 6 of the bath spa jet flanges were broken completely off, which begs the next question:

Can the jet flange be removed? (Unscrewed?) The flange is the part that holds the jet body (back part) to the bath tub.  During assembly, silicone sealant is used to seal the body to the tub to prevent leakage.  The good thing about this particular tub is that the silicone sealant was actually holding well, which means a small chance of leaking in the future, as long as the front part of the flange is properly secured to the tub.

Here’s another:

Face flange broken on a jacuzzi bath jet.Like I said, seeing a flange completely disintegrated like this can lead to horrifying expense, but in this case – again – the jets could not be pushed out of their place. The silicone on the back side was continuing to hold them where they were installed.

So – in this case basically we need to provide a sealing surface on the front of the jet – and a mechanical aid to continue to keep the jet attached to the tub.  Enter our hero – White Marine Epoxy.

The solution is quite simple. Clean the cracked surface and the adjacent area of the tub surface with clear pvc pipe cleaner – then with a paint brush apply it around the cracked area and join with the surface of the bath tub.

The magic toolkit - Epoxy and PVC Pipe Cleaner

This is in no way a perfect fix, but if you cannot remove the flanges then it is the ONLY option possible.

Here is what the finished repair looks like:

Repaired Jacuzzi Jet with Marine White Epoxy

Of course this is not an elegant solution in appearance, but it is an elegant solution on the wallet!  It provides for both a water-tight seal for the jet flange and body, plus it reinforces the jet body to the bath tub, negating the need for a removal and complete re-plumb, or worse – a bath tub replacement.

If you do this yourself, the repair’s total cost is less than $15!  Call with questions any time.

phone

Leaking Jetted Bathtubs (spa) – Part Two

This is part two of the Sealants and Epoxies can be your friend series.

In this example of a leaking jetted bathtub, what I found was that the internal jet bodies were leaking.  Additionally, it was discovered that this had been repaired in years past, and the silicone that was used was peeling off.  Note these were not cracked jets, it’s just that the internal body parts were glued together and it had partly failed, leading to a very leaky tub.

It is important to note that whenever you use a silicone in a submerged situation like this and it is applied to the surface of a leak, that periodic re-sealing of the area may be required.  IE the more often the tub is used, the more frequent the replacement.  That said, if silicone is used in a joint/flanged situation, as long as it has been given enough time to cure, it should last for many years.

Jacuzzi bath jet that has old silicone causing a leak.

Looking closely at this Jacuzzi jet body it appears there has been some silicone applied at some time in the past and it is visible at the bottom near where the jet nozzle flange is screwed in.


Jacuzzi bath tub jet that is leaking

On another jet, I can see what appears to be some white silicone sealant in the back (between 9 and 11 o’clock in the back) of this Jacuzzi bath jet, and it’s apparent that pieces of that white silicone have come loose also; (not visible in photo).


The solution is really simple – unscrew the jet nozzle, clean it out, prime it (using pvc clear primer), and add new silicone sealant.

Jacuzzi bath nozzle and jet body assembly - nozzle is removed.This is not difficult for the average home-owner to do. It’s quite simple.  Using a screwdriver in the base of the ring that holds the nozzle, you have to ‘un-screw it. The nozzle assembly will come right out (but you may have to fight it a bit to get it to initially rotate).

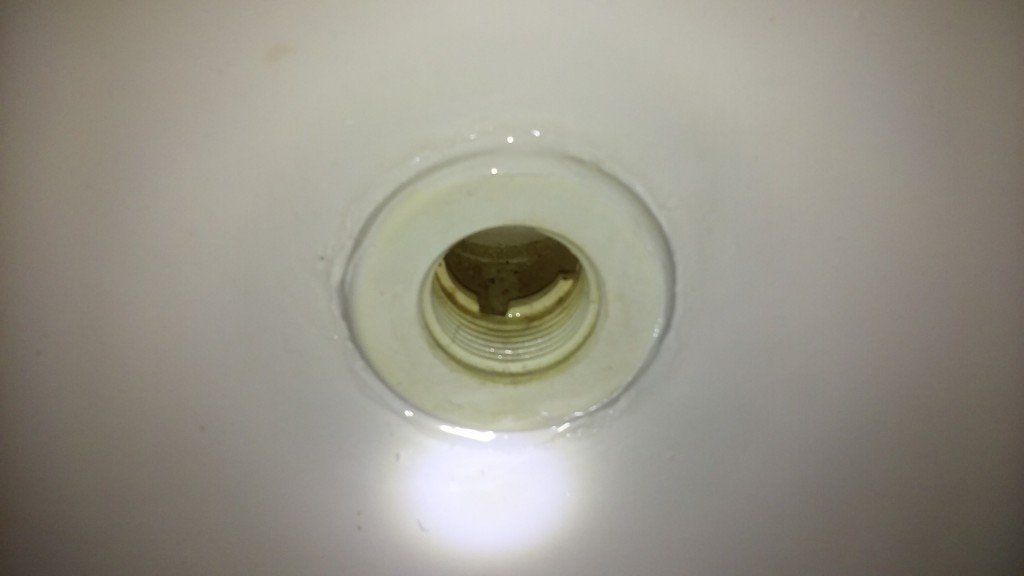
The above is what a Jacuzzi bathtub spa nozzle assembly looks like. With the flashlight, you can also see where the previous silicone when it was installed – is flaking out, causing the leaks with this tub.Silicone flaking off a seal joint in a bath tub spa.


Here’s a close-up of the Jacuzzi bath tub jet. Note the failing silicone.


Silicone removed from leaking Jacuzzi jet


Another jet where the silicone came completely out of the threaded body, causing a leak.


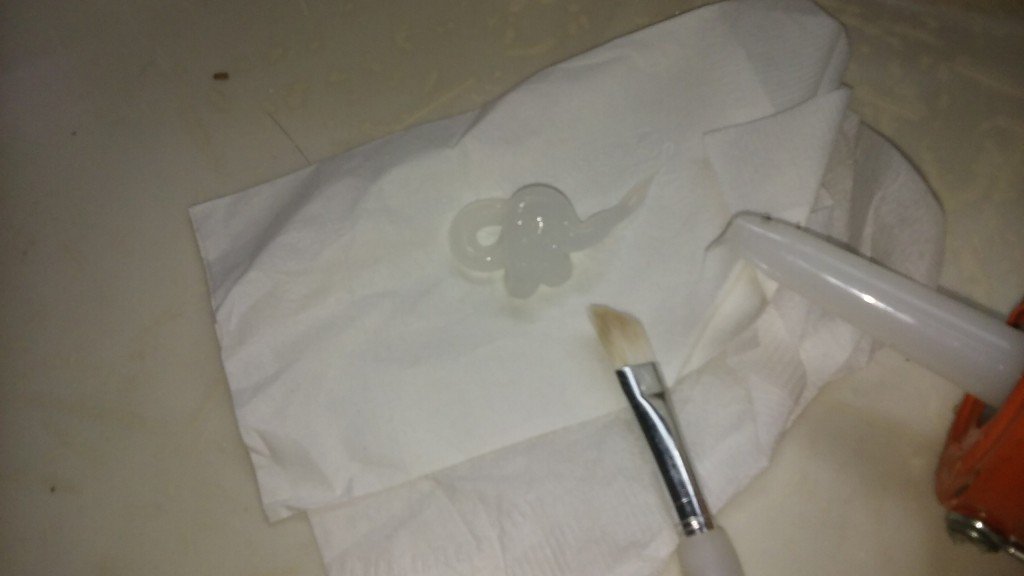
This is how I set this up for re-sealing. Using the dauber for clear pvc pipe cleaner, swipe the internal part of the Jacuzzi jet body and then be sure it’s dry.  getting ready to use silicone to seal a jacuzzi jet.Then I put clear silicone caulk on a paper towel, and use a small paint brush to swipe it into the area where it needs to go to seal the bath-tub leak.
This is actually easier said than done,  because of the density of silicone, but the brush is infinitely better as an initial applicator, than the nozzle of a caulk gun – and definitely better than using your fingers.  The paint brush provides accuracy and cleanliness, which is an absolute requirement when you have to do more than 1 or 2 jets.  I always keep a few of these paint brushes with me because you have to throw them away when you’re finished.

Here is what the removed Jacuzzi bath nozzle assembly looks like completely disassembled.Jacuzzi bathtub jet nozzle removed from the body.

There were no final photos taken of this job but I will say that after the silicone was place where I wanted it to go, I did use my index finger to ‘smooge-it’ in a circular fashion to cover the leaking joints completely.  It works, and it’s cheap to do!

phone

Sealants and Epoxies are your friend

When it comes to repairing ‘broken’ or cracked things on your tub – because replacing them may not be a viable option, too expensive or too troublesome to do – there are a number of cases where a simple two part epoxy, or even ordinary silicone sealant can be a massive time and money saver.

Bathtub spas, and those that go by the manufactured name ‘Jacuzzi Whirlpool’, are frequently an example when having sealants and epoxies are a serious part of your tool-box.

Let’s take a look at this first example, it is a Jacuzzi Whirlpool bathtub that has a couple of cracked jet bodies.  Many people would think that it would be a requirement to cut out the broken jet, replace it and then replumb it.  But what if just getting access means taking the entire tub out?  Ouch! That can get expensive really quick!

Jacuzzi Whirlpool Bathtub

In this example, you can see I’ve got Plast-Aid, as well as Marine Epoxy (white) you can see on the above Jacuzzi Bath to the right.

20161009_162922With the bathtub spa jet internals removed (only takes a phillips head screwdriver), the cracks in the jet body are easy to locate.

Once found, I prep the area with a swipe of pvc pipe cleaner, ensure it’s dry, then apply an amount of Plast-Aid directly over the crack.  That will be cured in about 15 minutes. Then a follow up with a coating of white Marine Epoxy.

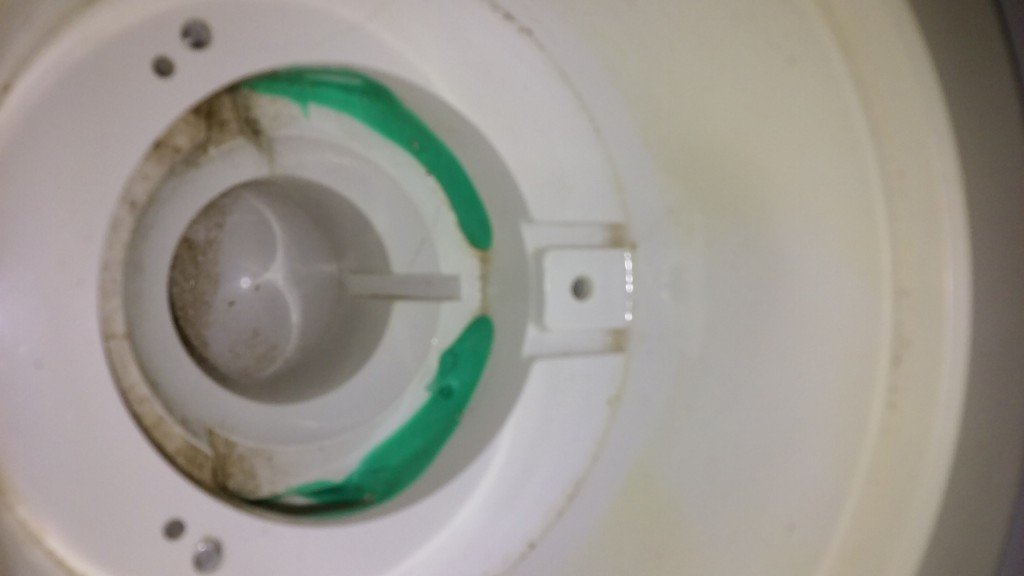
It can be a little tricky spotting what I call a ‘micro-crack’ – but if you can locate the leaking jet body first, then it will give you a target to focus on. Jacuzzi Whirlpool bath with a cracked jet body.In this jet body, that small slotted area to the right (behind the green cement), there is an arched crack that appears in the concave swivel ball (jet nozzle) seat, and stretches across that slot to towards the bottom.

Sometimes, because these things can be really TINY and difficult to see, using a camera on hi-resolution, then zooming in with the screen will help you locate cracks like this. To repair this crack, Clean the area with pvc pipe cleaner (Clear!).  Then I simply mix a two part epoxy (I prefer the Marine White) and use a small disposable paint brush to accurately paint the epoxy over the crack.  Overlap is important and will determine how strong your repair will be.


For the next example, Click Here!

phone


Spa & Hot Tub Leaks: The difficult ones.

Plumbing work in this business is usually not a big deal.  It’s simple and straight-forward and usually follows this sequence:

  1. Cut out offending PVC (broken/bad leaking stuff).
  2. Obtain new fittings from local supplier or Home Depot.
  3. Using PVC Primer (the clear not purple stuff), and heavy bodied PVC cement, prepare fittings and pipe/flex hose and install the replacement.
  4. If it’s cold out, warm up the joints and parts with a heat gun…. (NOT hot).
  5. Wait ample time for the PVC cement job to complete it’s cure cycle.
  6. Fill up spa and test under pressure.

Many times though, it’s not this simple, and you really need to try to figure out a much different way to solve the problem.  (Take that to mean the cure could be worse than the disease).

Case in point.  1990’s model Sundance spa.  Nice spa, really nice thru the deck installation and has been a family treasure for many years.  Using common sense and intuition, it was determined that the leak that was draining the spa down 2-3 inches per day was located in a specific corner area of the tub.  For the uninitiated, this model of Sundance spa is a full foam tub, which means that you’ll need to dig through a lot of foam to find the leaking pipe.  Squirrels had moved into this spa and dug out a ton of foam, so it was initially thought that the squirrels had dug through the foam, found a specific pipe and chewed a hole in it.

I don’t like having to trouble-shoot leaks in full-foam hot tubs.  They can really be resource hogs.  But the water soaked foam in the area I was digging was soft and easy to remove.  Yes it was really messy and not fun but digging with a crow-bar worked well.   Eventually the leak was found and it was in a really tough area, with tight parameters for ‘fit-ment’.   I mean, there’s just no way to cut out the bad stuff and just insert some new stuff and the leak is gone.

Here’s what it looked like, the spa was leaking at the blue glue area (top of the image) where the PVC  connector meets up with the tan colored flex-PVC:

2014-03-05 15.40.25

Going the conventional route, the standard answer to this situation is cut it all out, and replace the fittings and all that it connects to.  But in this situation you just can’t do that.  If you’ve ever worked with older flex PVC, you’ll know it doesn’t flex anymore, that’s 1.  2 is that everything else that it connects to are proprietary fittings/devices – like a Sundance diverter valve that controls which jets get the most water flow.  There’s nothing wrong with those things so they need to stay in place, and 3 – omg, the foam man the foam!  Everything is fixed in place by this stuff so you don’t have the liberty of moving stuff around to make it fit with new PVC.

So what do you do?  Cut it out and start a nightmare of a ride to nowhere or just try to fix the leak without all that insanity?

I like simple solutions.  In this case, we decided to use an old-fashioned approach with a bit of a twist.  They do make PVC repair couplings/fittings for this purpose, but they are hard to find, especially in the 2″ variety like this one was.  I took a 2 inch PVC coupler, and cut it in half.  Then I cut it in half again.  The end result was this:

2 Inch PVC fitting, cut in half.

The leak was a lot of water coming out of the edge of the 2 inch fitting, so the idea was to target THAT.  This fitting that was created out of a 2 inch PVC coupler from Home Depot was designed to butt-up next to the leaking PVC fitting in the spa, and it’s size, with good preparation and PVC cement, would stop the leak completely.  With this repair option you’ve got a PVC fitting edge butting up next to the edge of the existing PVC fitting that’s in place.  Hmmm what about that tiny gap between the edges of the fittings?  Well I decided to do the standard leak repair (on top of the repair) by using Plast-Aid.  So, I’ve got a new half-circle 2 inch PVC fitting up against the old 1990’s 2 inch fitting, with a lot of good prep work, (drill wire brush to clean, along with PVC Primer), It’s all sealed with medium or heavy bodied PVC Cement.  In this case I used “Weld-On” Brand Hot PVC Cement.

2014-03-10 16.11.21

It is not a pretty job.  But you can see the Plast-Aid over the top of the edge where the two PVC fittings meet.  It looks like blue and white mixed together.

The end result was a complete success!  A lot of money was saved using this method of fixing a hot tub leak.

And that’s just one of the more difficult jobs that we face daily.  Each job can be a challenge!  If you have a problem with your hot tub and don’t know what to do just give us a call anytime!

phoneWe can help you!

Spa and Hot Tub -SLOW- Leaks

Let’s face it, most hot tub and spa leaks are quite obvious once you take the spa side panel off and take a look… (here we’re talking about most portable hot tubs that are outside, not in your bathroom). But slow leaks can be a real pain.  Anyway, standard leaks are really easy –

The usual culprits are going to be:

  1. Pump Seals deteriorated due to old age, or bad water chemistry.
  2. Pump and heater union gaskets getting old and deteriorated.
  3. Heater leaks.
  4. Everything else.

The top three are easy and quick to fix.  However, when faced with a really slow hot tub leak, let’s say one that drains down about an inch or two a day with no power applied, the problem can be quite perplexing.

There is one thing you need to have when trying to find a slow leak… patience.  Then add in persistence.

To help find a slow leak some of the best tools you have in your arsenal are going to be food dye, and your eyesight.Hot Tub / Spa Leak Detection

The above shows a leak test performed on a roto-molded spa with limited access to the back side.  No leaks were detected.

But the below photo exposes the slow spa leak culprit.  There are actually two jets in this photo.  The first is a Waterway mini-jet that is easily seen at the top.  The second is a cluster jet enveloped in blue food dye that’s about 7 inches below it.

Spa leak detection What happens is this… and you really have to look CLOSE and be PATIENT when you squeeze the dye into the water.  The dye will be drawn into the leaking orifice.  It’s akin to finding a virus or trojan on your computer.  Only this is analog, not digital.

Cracked Spa Jet

This spa was fixed quickly after 2 service calls, and we didn’t even have to cut a hole into the outside of the roto-molded plastic spa shell.  The failure was in the jet retainer ring.. It was cracked.

If you’ve got a leak problem that just won’t go away,  and you don’t know what to do then give us a call.

phone