This was a case of a missing suction cover that was no longer available from the manufacturer. All jetted tubs should have one as without it, it is a safety hazard. With a new suction fitting assembly, I first checked to be sure the new cover would completely cover the existing suction fitting:

Next up, was to remove the 3 legged ‘spider’ part from the new suction fitting:

You can either use a dremel cutting wheel, or a vibrating multi-tool with a cutting blade. The latter is what I used in this case. You can see the bits of plastic hanging off the ‘spider’. That’s the part that the new suction cover screws into. In the below photo, is the separated mounting spider and the new drain cover:

Next use Plast-Aid repair (acrylic adhesive) to mount the spider to the existing bathtub suction fitting. (Sorry, no photos for this part!)
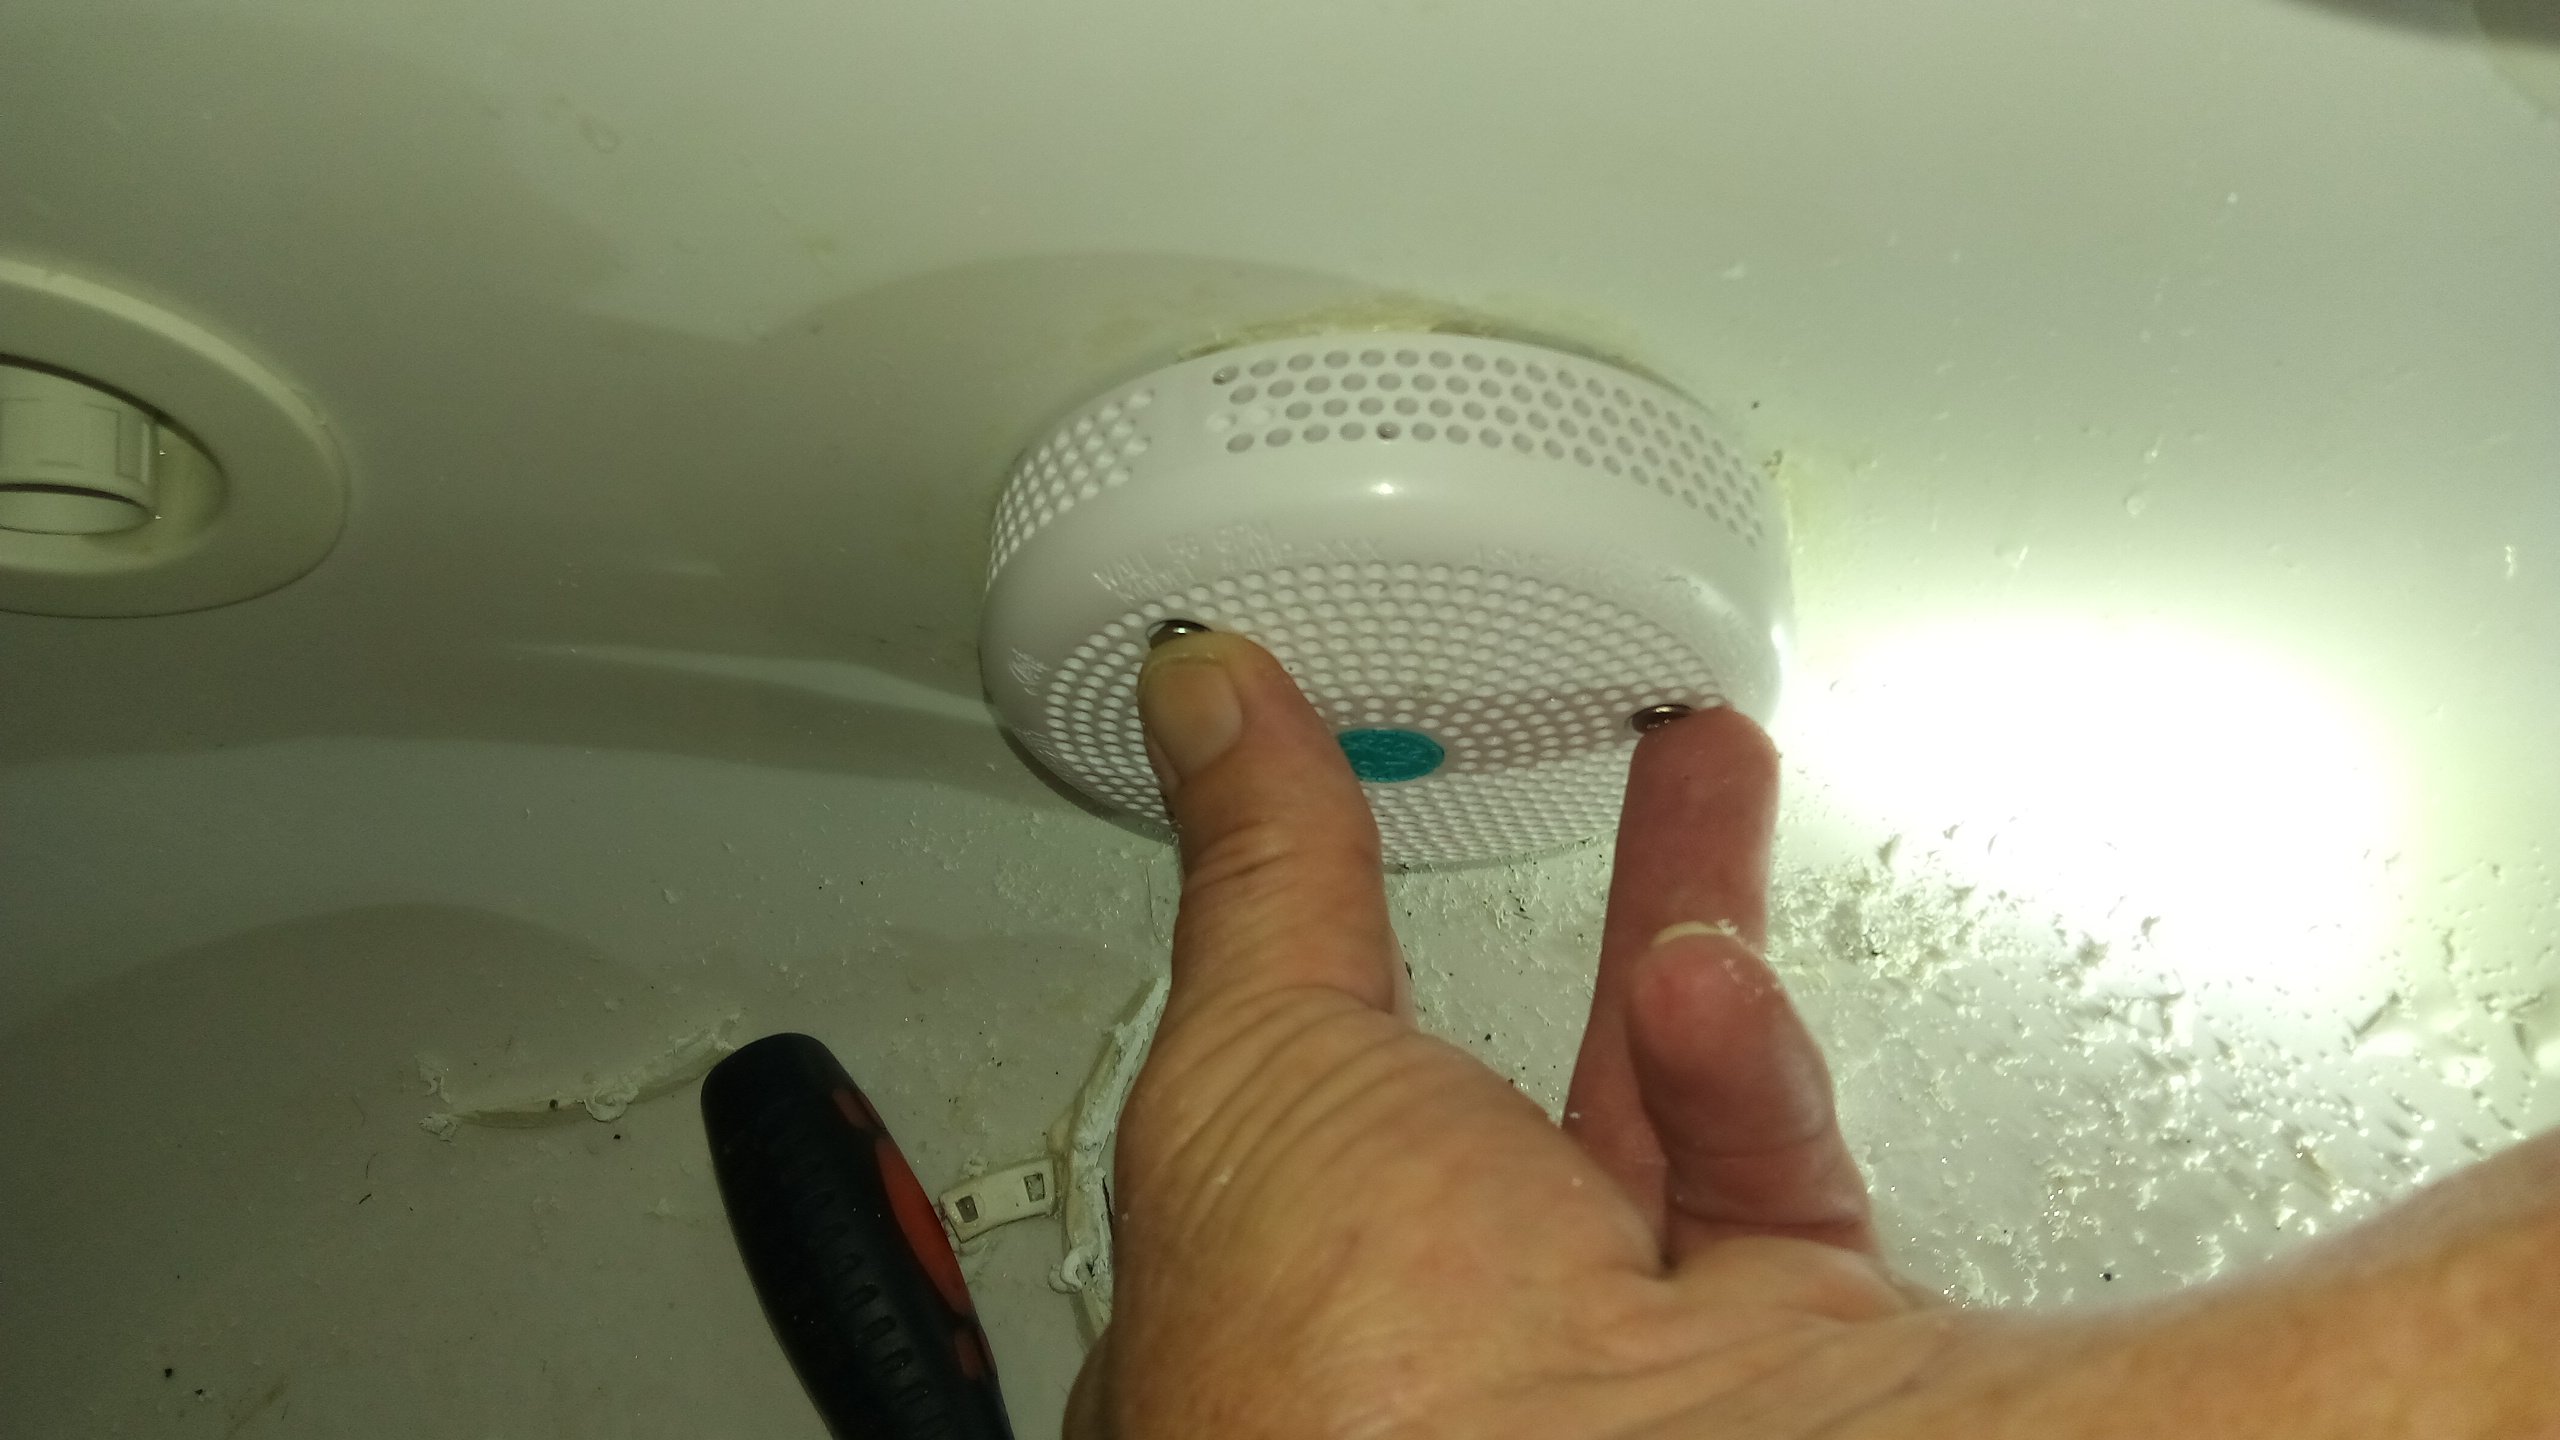
Then, mount the new cover to the old jetted bathtub suction fitting (using the 3 screws it came with), and admire the handy work!


So one may ask… Why do it this way? Why not just replace the entire suction fitting instead of hacking it together like this? Let me tell you, jetted bathtub repairs can be a real pain because often, there is NO ACCESS to critical parts of the plumbing unless you do something quite drastic:
Cut through and remove tile and backer-board…
Cut through ‘whatever is in the way’, just to get to the plumbing, etc…
Even if you could do that, replacing a suction fitting on a jetted bathtub can be a herculean task, unless you have full access to the plumbing from the suction itself, all the way to the bathtub pump suction fitting.
In this case, it wasn’t possible, and removing the bathtub was not an option, as the condo was on the real estate market, and was scheduled for closing in less than a week! The home owner and realtor were ecstatic with the outcome of this bathtub repair to say the least.
If you’re home is on the market and need something like this repaired, feel free to give us a call:
![]()